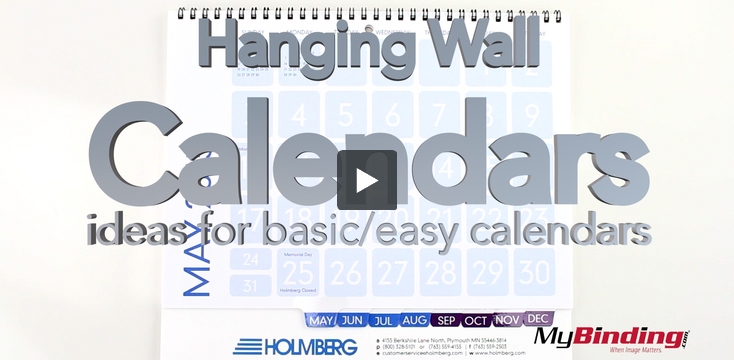
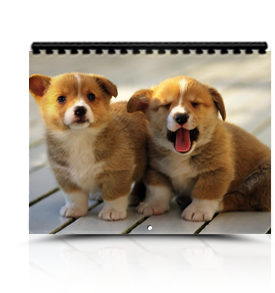
Calendar Binding


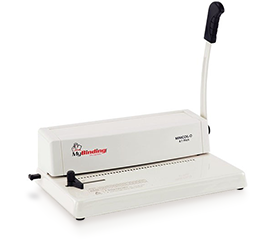


Have you ever seen a calendar bound with twin loop wire with a small half moon punch out and a calendar hanger to hang it on the wall? Now it is possible for you to create your own calendars just like this. All you need is twin loop wire binding machines, some twin loop wire, a thumb cut calendar punch and some calendar hangers. Here are a few quick instructions to get this job done.
1. It is easiest to begin by using your thumb cut calendar punch to punch your half moon calendar cutout in your document. It is important that you punch the half moon shape directly in the center of the document to ensure that you are able to successfully punch the document for wire binding in the next step.
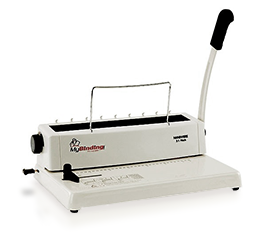
2. After you have punched your calendar with your thumb cut punch, you need to set up your wire binding machine to punch the rest of the holes for binding your calendar with twin loop wire. You may need to disengage several of the dies on your wire binding machine to ensure that you don’t end up with any holes that extend into the thumb cut punch or off the edge of the paper. Once you have disengaged the correct dies and have centered your document on the punch, you should end up with a document with two equal sets of holes on each side of the thumb cutout. At this point go ahead and punch your calendars.
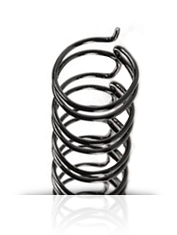
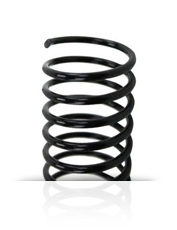
3. After you have punched your calendars, it is time to bind them. However, you need to make sure that you have the right length of wire for the job. There are a couple of options for getting the right length of wire. You can order the length of wire that you need for each side of the calendar pre-cut to the correct length. Pre-cut twin loop wire will make the binding process much easier but is more expensive than cutting the wire yourself. If you want to save some money you can simply use a small set of wire cutters to clip standard 11” pieces of wire into the correct lengths for binding. This option is obviously cheaper than ordering custom cut lengths of binding wire. But it is more time consuming and can be a little bit tricky at times. Either way once you have cut your wire into the correct lengths, you are ready to start the binding process.
4. After you have the twin loop wire cut into the correct lengths for your calendar, you are ready to start inserting them onto your document. Since most calendars are small it is often best to just insert the wire onto the book by hand instead of trying to use the wire holder on your binding machine. If you find the wire holder saves you time, you can try using that, too. Either way you need to insert the two sections of wire onto the book on either side of the thumb cut.
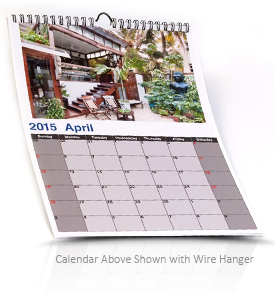
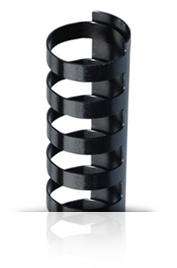
5. Now add the calendar hanger. Ideally, your calendar hanger will be almost the entire length of your book. This will help to give your calendar hanger the strength to hold the calendar without sagging. Simply set the calendar hanger so that the long straight sections set inside the “C” shaped twin loop wire while the half moon part of the wire rests inside the thumb cutout on the book.
6. The final step in binding your calendar is to carefully move the document including the calendar hanger over to your binding machine so that you can use your wire closer to finish the binding process. It can sometimes be a little bit tricky to move the book over without having the wire fall off the book. Just practice a little bit and you will get the hang of it. Also remember to be careful not to let your calendar hanger fall down and get crushed in the wire closing process. After you have closed the twin loop wire, your calendar is finished and ready to be hung.