Yearbook Binding


More and more schools are looking to save money due to ever increasing budget cuts. Unfortunately, some of the things that get cut are the very things that make school enjoyable for students such as art classes, sports, and even yearbooks. However, you can still commemorate the school year by binding your own customized yearbooks with a thermal binding machine. Doing so can help you save money and it can get the kids involved in a project they’ll remember forever. Here’s the lowdown on how you can bind your own yearbooks:
1. The first thing you’ll need to do is design, lay out, and print your yearbook. Your school’s yearbook committee can do this. It’s a great way for students to explore their interests such as photography, writing, and graphic design. When the book has been laid out, print the documents on a high-quality printer. You might want to use glossy stock to make them look more professional.
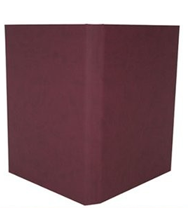
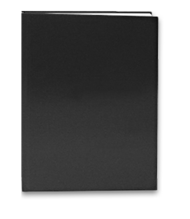
2. At this point, you need to select your thermal binding covers. It’s important to use supplies that are the right size since using a cover that is too small will cause pages to fall out of the yearbook. Measure the thikness of the book with a ruler and choose a cover that will comfortably accommodate all the pages.
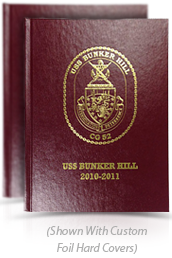
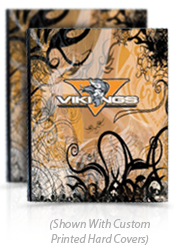
3. Now that you’ve printed your yearbooks and have selected your thermal binding covers, you can begin to think about customizing the covers. You can add windows to them and/or have them foil-stamped which will make them look fantastic. You could also have the covers printed with artwork during a four-color printing process. Just keep in mind that customization can be expensive and it can take a while. You might have to wait as long as 3 months to get your customized supplies.
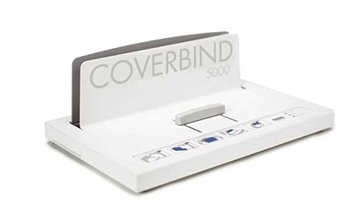
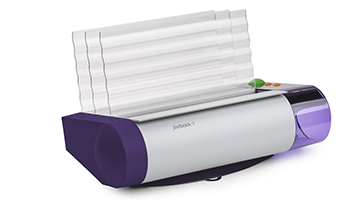
4. After you’ve rounded up your printed documents and covers, you can start binding your yearbooks. Thermal binding is very easy to do. Just insert the yearbook pages into a binding cover, place the cover in the thermal binding machine, and remove the yearbook after it’s been bound. This only takes a couple of minutes. You should then place the book in a crimper to secure the binding. Note: if you used a Unibind machine, you can skip this last step.
That’s all you need to do to produce your own customized yearbooks. Doing so will help you save a lot of money and give the students a memento that they’ll treasure for years to come.