
Custom Image Strips
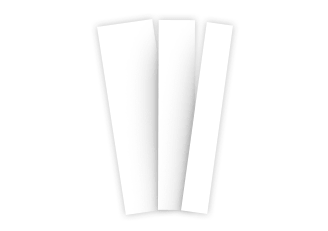

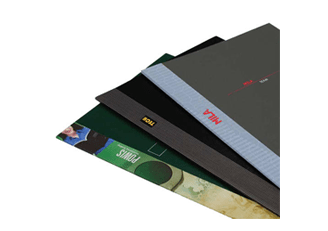
Image Blanks Overview
Thy come in sheets of three strips as seen here. Once you run the project through the printer they’ll come out looking more like this! Pull them off and you’re ready to bind.
The Super Strips have barcodes in the glue so the machine know what type of strip it is.
It’s important to only use Inkjet printers for these.
When your machine is on, push the directional button to access the options menu. Push over to select “Image Strip”. Push the green button to prepare the machin... Read More
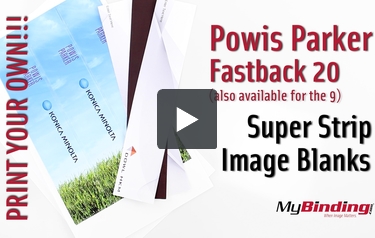
These are Powis Parker Image Blanks—available for both the Fastback 20, and the 9.
Thy come in sheets of three strips as seen here. Once you run the project through the printer they’ll come out looking more like this! Pull them off and you’re ready to bind.
The Super Strips have barcodes in the glue so the machine know what type of strip it is.
It’s important to only use Inkjet printers for these.
When your machine is on, push the directional button to access the options menu. Push over to select “Image Strip”. Push the green button to prepare the machine.
When it’s ready, insert your project into the machine…backwards. Push the bind button and insert your strip.
When it’s done, remove the project to cool, and then observe the beauty of your personalized bindings. It holds well like every other fastback strip. Also notice the larger area on the front of your project. I put this gray one in with the front as normal, and the design is more on the backside.
