Giant Size Laminating Pouches with Long Side Slot - 100pk
0
0
0
Giant Size Laminating Pouches with Long Side Slot - 100pk
- Choose Thickness from 5MIL, 7MIL or 10MIL
- Pouch sealed on longer side
- Corners: Rounded
- Finish: Clear
- Ships Free Over $75
Starting At
$0.00
Choose Product Below


SWIPE FOR MORE IMAGES
- 0
- 1
- 2

Product Description
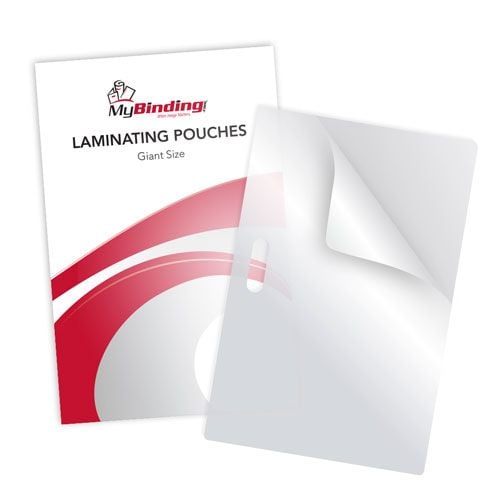
You might be saying to yourself; Giant, These pouches only measure 4-1/2” x 6”? According to the dictionary giant also means a thing that is powerful and that is where these pouches are giants. These Giant Size Laminating Pouches with Long Side Slot provide superior protection to what you are laminating. There are 3 thicknesses available 5mil, 7mil and 10mil depending on your preference. Giant Size Pouches measure 4-1/2" X 6" and there are 100 per package.
Product Details
- Size: 4-1/2" X 6"
- Thickness: 5MIL, 7MIL or 10MIL
- Finish: Clear
- Corners: Rounded
- Pouch: Sealed on longer side
- Slot Size: 1/8" x 1/2"
- Slot Location: Long Side
- Quantity: 100 per box
Demonstration Video
Transcript:
These are Giant Laminating Pouches! And they’re huge!!! Alright, not really, they’re only about a centimeter wider than a standard photo. It’s available in 5, 7, and 10 mil thicknesses. Generally, anything smaller than a half sheet doesn’t come in a thinner options. Using a lamination pouch is simple: First open your pouch and insert your project, align all the edges so they are even. Then place the pouch into the carrier so they open the same way. The edge where the two sides meet is called the crease. Line up the carrier and pouch creases. With pouch in place, slide the carrier into your pou ...
Read More
These are Giant Laminating Pouches! And they’re huge!!! Alright, not really, they’re only about a centimeter wider than a standard photo. It’s available in 5, 7, and 10 mil thicknesses. Generally, anything smaller than a half sheet doesn’t come in a thinner options. Using a lamination pouch is simple: First open your pouch and insert your project, align all the edges so they are even. Then place the pouch into the carrier so they open the same way. The edge where the two sides meet is called the crease. Line up the carrier and pouch creases. With pouch in place, slide the carrier into your pouch laminator crease end first as seen here. When it’s done, remove the carrier and unveil your beautiful new laminated project!