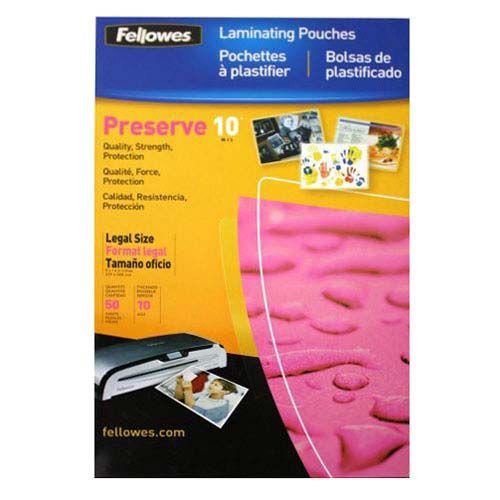
Fellowes Premium 10mil Legal Size Laminating Pouches 50pk - 52047
53.47
NewCondition
OutOfStock
We're sorry, but we no longer offer this item.
Call us at 1-800-944-4573 for personalized recommendations
or check out these similar items that may be a good fit:
-
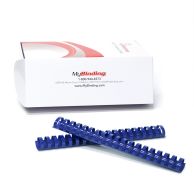
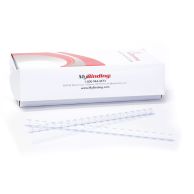
1-1/2" Royal Blue Plastic Binding Combs - 100pk
$46.99
- Hole Pattern: 19 Hole
- Approximate Capacity: 320 Sheets
- Length: 11" (19 Rings)
- Shape: Oval
-
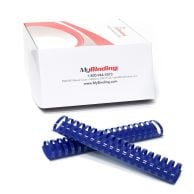
1-3/4" Royal Blue Plastic Binding Combs - 50pk
$27.49
- Hole Pattern: 19 Hole
- Approximate Capacity: 375 Sheets
- Length: 11" (19 Rings)
- Shape: Oval
-
3/16" Clear Plastic Binding Combs - 100pk
$11.29
- Hole Pattern: 19 Hole
- Approximate Capacity: 10 Sheets
- Length: 11" (19 Rings)
- Shape: Round
-
9/16" Clear Plastic Binding Combs - 100pk
$12.69
- Hole Pattern: 19 Hole
- Approximate Capacity: 105 Sheets
- Length: 11" (19 Rings)
- Shape: Round
Fellowes Premium 10mil Legal Size Laminating Pouches 50pk - 52047


SWIPE FOR MORE IMAGES
- 0
- 1
- 2
- 3
- 4
- 5
- 6
- 7
Product Description
These Premium Fellowes laminating pouches are perfect for all of your high end presentations and frequently handled documents. Fellowes laminating pouches are manufactured to exacting specifications to provide an airtight, bubble free ultra clear finish for your documents and photos. These premium quality pouches are designed to run in your Fellowes Laminator or virtually any other brand of Pouch Laminator . These Fellowes Laminating Pouches are easy to use; Just place your document into the pouch and insert it into the laminator. It doesn't get much easier than that. Choose from a wide variety of sizes and four different pouch thicknesses to fit your specific Laminating project.
Product Details
- Item Number: 52047
- Pouch Size: Legal Size
- Pouch Dimensions: 9" x 14-1/2"
- Finish: Glossy
- Thickness: 10mil
- List Price: $113.90
- Quantity Per Pack: 50 Pouches
- UPC Code: 077511520471
Recommended for you
-
![File Index Card Pouches with Short Side Slot - 100pk]() File Index Card Pouches with Short Side Slot - 100pk
File Index Card Pouches with Short Side Slot - 100pkStarting At: $32.19
-
![10mil Colored Credit Card Laminating Pouches]() 10mil Colored Credit Card Laminating Pouches
10mil Colored Credit Card Laminating PouchesStarting At: $28.79
-
![Letter Size Sticky Back Laminating Pouches - 50pk]() Letter Size Sticky Back Laminating Pouches - 50pk
Letter Size Sticky Back Laminating Pouches - 50pkStarting At: $58.29
-
![Matte Matte Legal Size Laminating Pouches - 100pk]() Matte Matte Legal Size Laminating Pouches - 100pk
Matte Matte Legal Size Laminating Pouches - 100pkStarting At: $139.59
-
![Laminating Pouch Carriers (Minimum Order of 10 Required)]() Laminating Pouch Carriers (Minimum Order of 10 Required)
Laminating Pouch Carriers (Minimum Order of 10 Required)Starting At: $2.99
-
![Print Protector Display Sleeve - 25pk]() Print Protector Display Sleeve - 25pk
Print Protector Display Sleeve - 25pkStarting At: $15.19
-
![Polar Pressure Sensitive Self-Laminating Sheets - 3mil Clear Gloss 10pk]() Polar Pressure Sensitive Self-Laminating Sheets - 3mil Clear Gloss 10pk
Polar Pressure Sensitive Self-Laminating Sheets - 3mil Clear Gloss 10pkStarting At: $22.99