MyBinding Knowledge Base
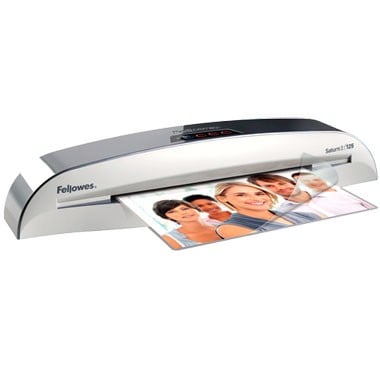
How do I mount documents with my laminator?
One of the great things you can do with some roll laminators is mounting documents on to boards. You can do this to create signs, posters, visual aids, and more. There are different ways to do this and this article will fill you in on a few of them so you can decide on the method that’s best for you and your document finishing needs. It will also give you some instructions on how to get those documents mounted. Let’s get started!
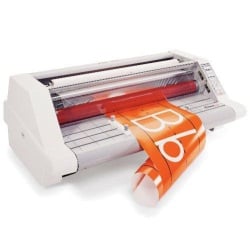
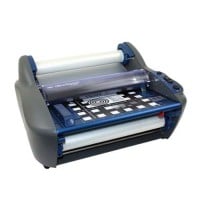
The first thing to do is make sure your laminator can handle boards. If your machine has rollers that are gapable, you’ll be able to do this. Gapable rollers are able to process materials of varying thickness so you can process the thinnest paper or something thicker such as cardstock and foam core. There should be some information in your instruction manual to help you gap the rollers appropriately.
There are a number of different ways to prepare the board on which you want to mount your documents. Here are a few of them:
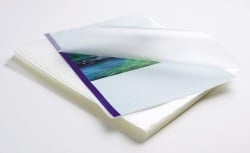
- There are pre-made mounting boards that are easy to use. These supplies already have adhesive applied to them and you reveal the sticky surface by peeling off a release liner. Using these materials is the fastest and easiest way to get the job done and there are a number of sizes available for your convenience.
- Another way to get prepared is by using applying adhesive to the top roll of the laminator and then run the board through the machine. This isn’t the easiest way to get things done because it can be messy if you’re not careful. You need to ensure that the adhesive doesn’t come into contact with the lower roller. This can be more difficult than you think, unfortunately.
- You can also choose to use mounting adhesive on the bottom roller and put a roll of laminating film on the top roller. This essentially helps you create a sticker and it’s pretty easy to do. However, you will need to make sure that the adhesive and film melt at similar temperatures,
After you’ve run the board through your laminator there are a couple more things you need to do to finish things up. For one thing, you need to get your document or graphic on to the board. You can do this by peeling back the release liner a little ways and then applying the document. Then, run the item through the laminator and the liner will come off. If you need to trim the board down to size afterward, feel free to do so. Then you’ll be done and you can step back to admire your handiwork.
It may take you a few tries before you get the hang of it but you’ll be a pro at mounting your documents in no time. Just be patient and you’ll be able to mount your work with ease. Good luck with your projects and happy mounting!
< Over the years, a number of customers have asked me whether they can use twin loop wire with their plastic comb binding machine. These customers often don’t want to have to buy a brand new machine but like the look and feel of twin loop wire binding. However, the answer to their question isn’t as simple as it seems. You see, they actually do make twin loop wire that is designed to work with the plastic comb binding hole pattern. With that said, if you want to use these wires you are going to need a way to close the wires. What is Spiral-O Wire? Let me explain a little bit more…There is a product that we carry called Spiral-O Wire. This wire has 19 loops and is designed to work with the hole pattern from a plastic comb binding machine. Spiral-O Wire is sometimes called Wire Combs or Ibico Wire and was originally designed for use with some of the older Ibico binding machines. A number of the older Ibico plastic comb binding machines also included a twin loop wire closer on the front of them to allow users to use both plastic combs and wire. This 19 loop wire was designed for this purpose. What Equipment is Needed? As the Ibico brand has been phased out by GBC and all of the older Ibico plastic binding machines have been replaced with new models, they no longer have the twin loop wire closer on the front of them. This presents a problem in trying to use these spiral-o wires since you can’t use the wires without a way to close them. One of the only options left is to purchase a Twin Loop wire closer. However, since twin loop wire closers are not incredibly cheap this option usually only appeals to users who have larger electric plastic comb binding machines. Otherwise, it is often advisable to simply buy a low end 3:1 pitch twin loop wire binding machine (the supplies are cheaper). This being said, if you have one of the older Ibico binding machines that has a wire closer included you are in luck. The Spiral-O binding supplies that we carry will work perfectly with your machine and you will be able to use both plastic combs and wire depending on your needs. These Spiral-O binding supplies are available in Black, Silver, White, Blue and Red and in sizes up to 1″ in diameter. If you aren’t sure what type of wire binding supplies that you need to work with your machine simply give us a call. Our trained sales representatives will be glad to help you find the correct supplies for use with your machine.(Read More)