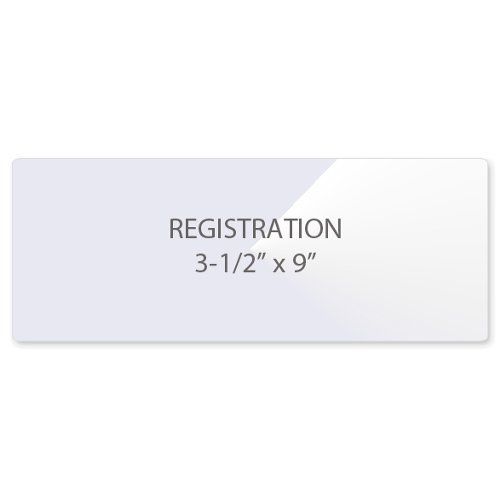
7MIL Registration Card 3-1/2" x 9" Laminating Pouches - 100pk - Clearance Sale
1.44
NewCondition
OutOfStock
We're sorry, but we no longer offer this item.
Call us at 1-800-944-4573 for personalized recommendations
or check out these similar items that may be a good fit:
-

7MIL School 2-1/2" x 3-5/8" Laminating Pouches - 100pk
$9.69
- Size: School
- Thickness: 7 mil
- Finish: Gloss
- Heat Required: Yes
-
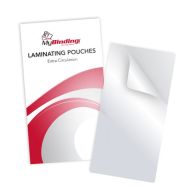
7MIL Extra Circulation 3-15/16" x 6-7/8 Pouches 100pk
$19.89
- Size: Extra Circulation
- Thickness: 7 mil
- Finish: Gloss
- Heat Required: Yes
-
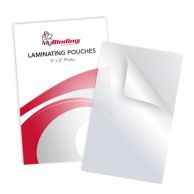
7MIL 3" x 5" Photo Card Laminating Pouches - 100pk
$15.39
- Size: 3 x 5 Photo
- Thickness: 7 mil
- Finish: Gloss
- Heat Required: Yes
-

7MIL Large Bookmark 2-3/8" x 8-1/2" Laminating Pouches - 100pk
$14.29
- Thickness: 7MIL
- Pouch sealed on longer side
- Corners: Rounded
- Finish: Clear
7MIL Registration Card 3-1/2" x 9" Laminating Pouches - 100pk - Clearance Sale

- 0

Product Description
These are our registration card laminating pouches that will protect that contact information for years to come. Our 7MIL registration card pouches measure 3-1/2" x 9" and come 100 per package. We offer our customers a wide selection of laminating pouches, if you are looking for that hard to find or custom size, call our customer service experts and they will be happy to help.
This item is on clearance sale and only available while supplies last.
Item Specifications
- Size: 3-1/2" x 9"
- Thickness: 7MIL
- Finish: Clear
- Corners: Rounded
- Pouch: Sealed on longer side
- Quantity: 100 per box
Demonstration Video
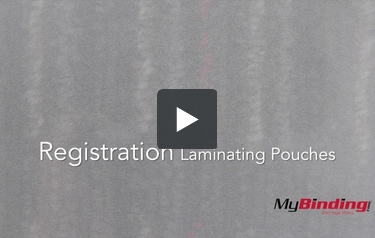
Transcript:
These are Registration Laminating Pouches! Compared to some common sizes, this registration size is slightly smaller than your standard photo, but slightly longer than a half sheet of paper. It’s available in 3, 5, 7, and 10 mil thicknesses.
Using a lamination pouch is simple:
First open your pouch and insert your project, align all the edges so they are even. Then place the pouch into the carrier so they open the same way. The edge where the two sides meet is called the crease. Line up the carrier and pouch crease. With pouch in place, slide the carrier into your pouch laminator crease ... Read More
These are Registration Laminating Pouches! Compared to some common sizes, this registration size is slightly smaller than your standard photo, but slightly longer than a half sheet of paper. It’s available in 3, 5, 7, and 10 mil thicknesses.
Using a lamination pouch is simple:
First open your pouch and insert your project, align all the edges so they are even. Then place the pouch into the carrier so they open the same way. The edge where the two sides meet is called the crease. Line up the carrier and pouch crease. With pouch in place, slide the carrier into your pouch laminator crease end first as seen here. When it’s done, remove the carrier and unveil your beautiful new laminated project!