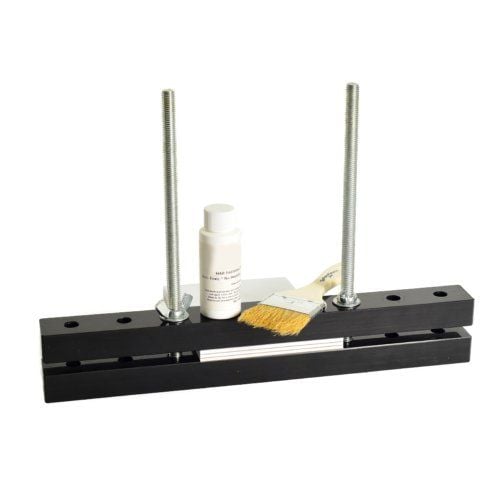
12" Padding Clamp Press with 2oz. Bottle Padding Adhesive and Brush
FAQ: 0 Questions, 0 Answers
0 Q&As
Item# 04CFSPADCLAMP
- Creates pads with up to 1,900 sheets at a time
- Padding adhesive and brush included
- Accepts paper up to 12" wide
- Perfect for DIYers, schools, crafters for small projects
ProductDescription
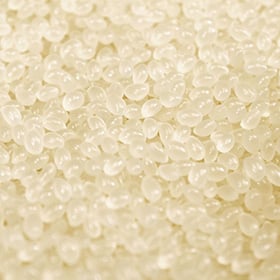
This 12" Padding Clamp Press Kit comes with a 2oz. bottle of our white American-made padding adhesive, and an application brush. It can accommodate up to 12" between the outside bolts, and up to 7 1/2" of material. This clamping system is the perfect partner for your crafting projects.
Product Details
- Product Type: Padding Clamp
- Size: 12"
- Includes: 2oz. Bottle Padding Adhesive and Brush
- Quantity: 1PK
Item Specifications
- Compatible Supplies: Padding Compound
Chip Boards - Compatible Accessories: Padding Brush
Pad Counter
Pad Separating Knife
Demonstration Video

Padding Clamp
Transcript :
First, Let's talk about three adjustments. First is small, which will create no pads with spine lengths up to five inches. The next setting will be the normal setting. To achieve a normal setting, we'll take the bolts and place them in the middle holes. This will accommodate spine sizes up to eight and a half inches. For anything larger or wider, we'll want to use the wide setting. For the wide setting, go ahead and place the bolts in the holes that are the furthest out or the closest to the outside edge. This setting will allow for a spine length up to 12 inches. Let's get into the basic oper ...
First, Let's talk about three adjustments. First is small, which will create no pads with spine lengths up to five inches. The next setting will be the normal setting. To achieve a normal setting, we'll take the bolts and place them in the middle holes. This will accommodate spine sizes up to eight and a half inches. For anything larger or wider, we'll want to use the wide setting. For the wide setting, go ahead and place the bolts in the holes that are the furthest out or the closest to the outside edge. This setting will allow for a spine length up to 12 inches. Let's get into the basic operation, for this we're going to use the normal mode, so we place the bolts in the middle settings. Our spine length will be eight and a half inches for this stack of notepads with the bolts threaded through the bottom half. We'll now want to thread the top half onto the clamp. Then we'll start with the washers, place on each bolt and then we'll thread the wing nuts on each bolt, with the wing nut setting where you'd like them. Let's go ahead and turn the padding clamp on its side, with a jog stack of notebooks, we'll insert them into the opening of the clamp. You want to make sure that the spine and the clamp are both flush with your work surface. Then tighten the clamp. Don't over tighten, as you can cause damage to the clamp. Tightening the wing nuts until you're starting to feel just a little bit of resistance, and then maybe give it a half to a full turn, flip the clamp right side up, and now we're ready to pad. To pad, we'll first want to start by putting a piece of paper or something underneath the padding clamp to catch the drips. Then we'll want to empty some of the padding compound into a disposable container. Here I'm using the bottom portion of the solo cup. So take your pad brush and dip it into the padding compound. Make sure to rub off the extra onto the sides of the disposable container. Now, starting in the middle and working your way to the outside edges, simply spread the compound onto the spine of the stack of notepads, ensuring to leave only a thin layer of padding compound on the spine. Now we wait for the padding compound to dry before loosening the clamp. With the clamp loosened, we'll want to use a pad knife. We'll use the pad knife to separate the stack from the clamp. Now we can pull the stack of pads out of the clamp. With the stack of notepads removed from the clamp, we now want to separate to the individual notepads. We'll want to insert the padding knife underneath the chipboard from the top notepad and on top of the top sheet and the notepad below it, insert the knife and separate it at the spine. And that's how we create a notepad for larger stacks of notepads. We'll want to add some support, lay down about an inch thick of chipboard or paper, and then add the large stack. We do this up against a wall or a flat surface, and set it up on its side, due to the weight of the notepads, make sure everything sits flush up against the flat surface, to create a good, even surface, to add the padding compound with everything flush up against the wall. Will now add the top part of the clamp. Remember to add your washers first, and then thread the wing nuts with the stack of pads secure in the clamp. We can now spin away from the wall. Spinning away from the wall exposes the edges, Where we are going to spread our compound.


