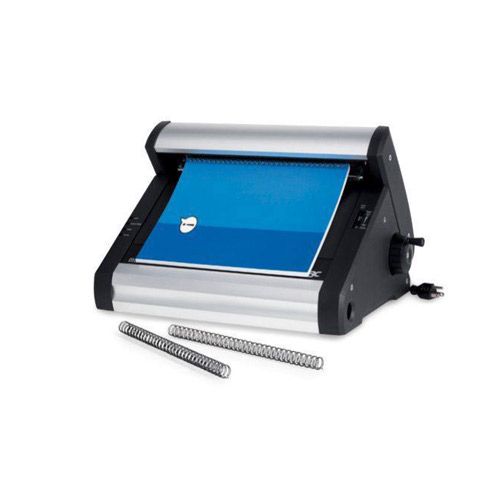
GBC TL2900 Replacement Hook Kit - 7301255
129.21
NewCondition
InStock
GBC TL2900 Replacement Hook Kit - 7301255


SWIPE FOR MORE IMAGES
- 0
- 1

Product Description
This kit includes the replacement hooks for the GBC TL2900 electric twin loop wire closer. Over time the hooks on the TL2900 can become bent causing the wire spines to not close correctly. If you are having this problem then chances are you need to replace the hooks on your machine. Changing the hooks really isn't that hard and helps to ensure that your electric twin loop wire closer provides you with a consistent high quality finished product every time.
Product Details
- Includes 1 set of hooks for the GBC TL2900 Electric Wire Closer
- Simple to replace with a phillips head screwdriver
- Hardware not included (screws from machine must be reused)
- GBC Part Number: 7301255 , 7301255 , 7301255G
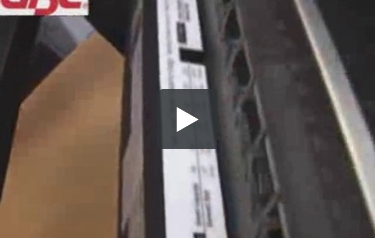
Demonstration Video
Transcript:
TL2900 Hook Kit Replacement. You'll need a standard Philips head screwdriver to do this procedure. First, we're going to want to dial to the half-inch setting to raise the ram. The reason why we're going to raise the ram is so that we can access to the back of the machine three screws that the hook kit is assembled on. We're going to want to turn counter-clockwise about two to three turns. You don't want to over-exceed it on more than two to three turns due to the fact that the screw will fall into the bottom of the machine. Next, you want to lift the ram and, from the back of the machine, you ...
Read More
TL2900 Hook Kit Replacement. You'll need a standard Philips head screwdriver to do this procedure. First, we're going to want to dial to the half-inch setting to raise the ram. The reason why we're going to raise the ram is so that we can access to the back of the machine three screws that the hook kit is assembled on. We're going to want to turn counter-clockwise about two to three turns. You don't want to over-exceed it on more than two to three turns due to the fact that the screw will fall into the bottom of the machine. Next, you want to lift the ram and, from the back of the machine, you want to push the front two levers forward then grab the hook kit from the front and we want to bring it slowly out to the front of the machine. When removing the hook, you want to be very careful. You also want to inspect the hooks. We want to make sure they're in unison and all straight in line. The hooks should actually be about 15-degrees angle all the way across from left to right. You want to make sure you handle this very carefully because the hooks actually can be bent or can physically break and snap off. So when installing the hook, be careful and be very gentle and make sure that you do not break the hooks. Now, you want to install the hook kit. You want to make sure that the hook kit is sitting flush on the pressure ram. And there are a couple of things you want to be careful. You want to make sure that the channel of the hook in here is sitting flush against the pressure bar ram. Next, you want to make sure that the cutouts unhook in here are going to go down into the machine where there are three screws with three washers. Those washers have to be on top of the hook kit plate. Now, we're going to put the hook kit in. We want to make sure that we get underneath all three washers. Next, you want to take your screwdriver and make sure that we're all the way flushed from the left to center, the far right on the hook kit against the ram pressure bar. Now that we've got our hook kit into place, we want to tighten down the three screws. You always want to start from the center screw first and then to the outer screws. The reason for that is because we don't want to have a skew on the hook kit. Next, we want to make sure that the bottom of the hooks have a consistency of about a quarter of an inch gap from the bottom of the magnet strip and the bottom of the hook all the way across from left to right. The reason for the quarter of an inch consistent gap is because we don't want to have the hook kit to be too far up into these channels that they ride through. If it's too far up, they'll have a tendency to get stuck between the channels. If it's too far down on the hook, we'll have inconsistent binding. To make sure that our hook kit is installed correctly, you want to grab a 5/16 element and then you want to dial the clamp head assembly to 5/16 counter-clockwise. Next, you want to install our 5/16 wire. We're going to use the 5/16 wire as a gauge. Our goal is to make this wire sit flush against the back silver plate here flush. We want to have the C-opening of the wire to be flush against this plate consistent from left to right. So you can close the ram and you should be able to watch the actual wire click back and it should be consistent from left to right on that C-opening of the wire.
Questions & Answers
Thank you for your question. The GBC TL2900 Replacement Hook Kit (Pert# 7301255) is manufactured directly by GBC.
Answered by MyBinding
▶
Asked by Guldentaler
We do ship all over the world. If you add your item to your cart and include the Postal code, Country and province, it will provide you with shipping charges. We do except Paypal and wire transfer from out of the country transactions.
Answered by Mybinding.com