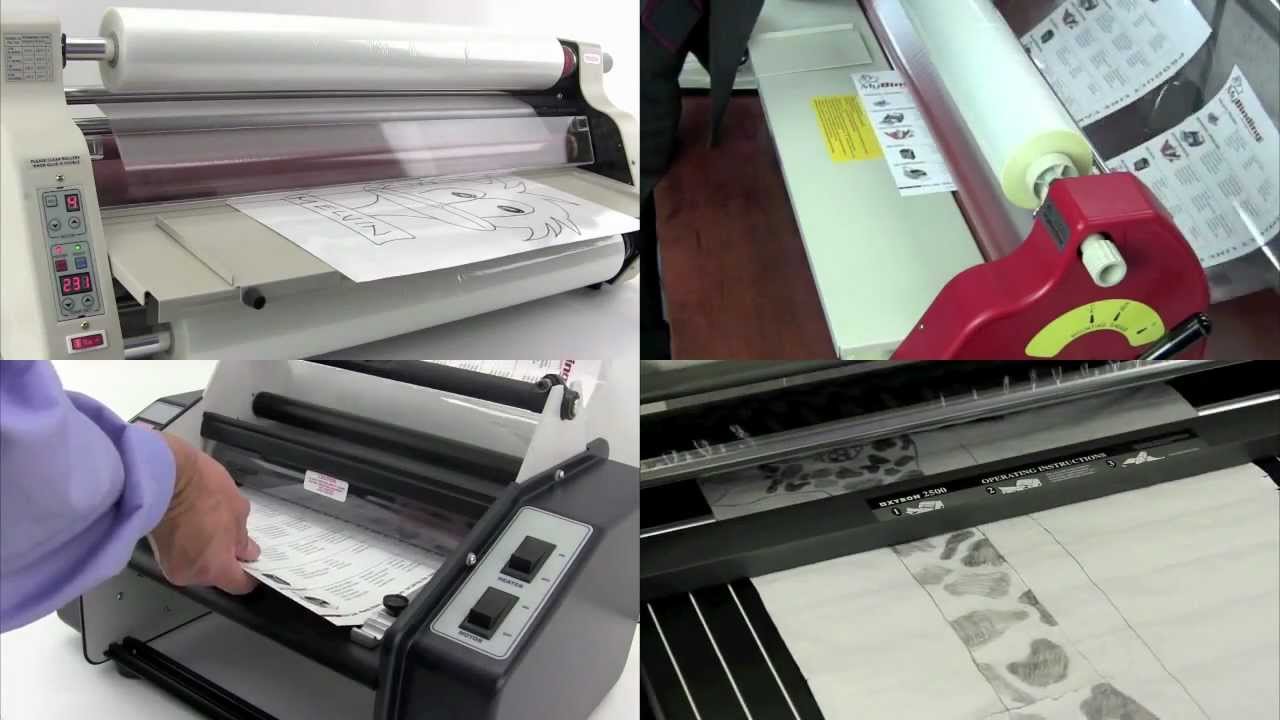
Fast Shipping. Reliable Service. Every Time.

Get your machines and supplies delivered quickly because deadlines shouldn’t wait.

Frequently Asked Questions

Choose roll laminator size by looking at the widest material you laminate often. Letter-size documents, menus, certificates, and small signs can usually be handled on narrower machines. Posters, classroom materials, maps, graphics, and display pieces may need a wider machine. Wider is not always better if it wastes film or takes too much room, so match the machine to your normal projects first. Also check the maximum film width, core size, roller opening, and supported film thickness. A machine can only run film that fits its design. If you are planning the supply setup at the same time, review compatible roll laminating film before choosing the laminator.

Office roll laminators are usually built for lighter to moderate use, standard document sizes, and shared workplace projects. Commercial machines are stronger and better suited for repeated batches, thicker film, and heavier daily use. Wide-format roll laminators are made for larger graphics, posters, signs, and display materials where width and pressure control matter. The right choice depends on volume, operator skill, film type, and the largest material size you expect to run. If you mainly laminate reports and signs, office or commercial equipment may be enough. If you handle oversized graphics or mounted prints, compare the options in wide-format roll laminators before buying.

The most important specs are film width, core size, thickness, finish, and adhesive type. Width must fit the laminator, and the core must fit the supply mandrel. Thickness affects both the finished feel and whether the machine can run the film properly. Thin film is flexible and economical for everyday protection. Thicker film gives more rigidity for frequently handled signs, tags, and reference sheets. Finish matters too. Gloss creates a bright look, while matte reduces glare and can make reading easier under strong lights. Also confirm whether the machine uses thermal, cold, low-melt, or pressure-sensitive film. A mismatch can cause poor bonding, wrinkles, cloudy output, or film that simply will not load.

Most problems come from incorrect film loading, wrong heat, uneven feeding, or film that does not match the machine. Load the rolls with the adhesive side facing the correct direction and keep tension even across the web. Let the laminator reach the proper temperature before feeding the first piece. If the output looks cloudy, the heat may be too low or the speed may be too fast. If the film wrinkles, check roll alignment and tension. Feed documents straight and avoid overlapping pieces unless the workflow is designed for it. Keep rollers clean and use test sheets before a large batch. A few minutes of setup can prevent a full roll of wasted film.

For busy workflows, look for adjustable speed, adjustable temperature, reverse, strong rollers, easy film loading, and a design that fits your working space. Reverse helps clear feed problems before they turn into serious jams. Speed control lets the operator slow down for thicker film or speed up for lighter repeated work. Temperature control matters because film thickness and adhesive type need different heat settings. If several people use the machine, simple controls and clear loading paths reduce mistakes. Also consider warm-up time and cool-down needs. A low-cost machine may work for light use, but daily production needs stronger construction, smoother feeding, and easier roll changes.

Roll Laminators Overview Video

Roll Laminators Overview Video

Welcome to MyBinding video. Once a roll laminator is all set up and ready to go, it is fast and efficient. Whether it’s hot or cold lamination, MyBinding.com has a great variety for you – anywhere from 12 and 14 inches, all the way up to 27 inches and beyond for institutions and schools. MyBinding is here at your service. We’re just a click, call or chat away and we’ll walk you through what you need and how you can get it fast. And our machines come with a range of user control panels for more flexibility. Many of these machines and the supplies that go with them do a lot more than just straight lamination – permanent and repositional stickers, magnets, clear on one side and opaque on the other, plenty of options. You’ll also find on our website plenty of how-to and demonstration videos so you know how to load and operate your machine properly and most efficiently. Because when image matters, MyBinding.

Featured Blogs

View all
Binding101 2018 Best Sellers

Binding101 2018 Best Sellers

Here is a list of our top-selling equipment for 2018, across all product categories, by volume of...

Read More
DIY Booklets: How to Make Event Programs, Catalogs, & Magazines

DIY Booklets: How to Make Event Programs, Catalogs, & Magazines

From handmade zines to polished product catalogs, folded and bound booklets are a classic way to share...

Read More
How to Make Custom Calendars: A Step-by-Step Guide

How to Make Custom Calendars: A Step-by-Step Guide

Custom calendars aren’t just great for organization — they’re also an excellent product line for small businesses,...

Read More