Rhin-O-Tuff Mounting Kit for OD Punches
FAQ: 0 Questions, 0 Answers
0 Q&As
Item# MK4000-ONYX
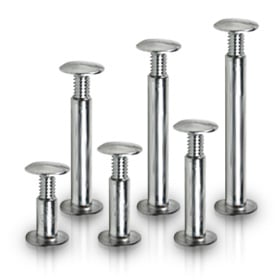
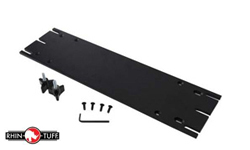
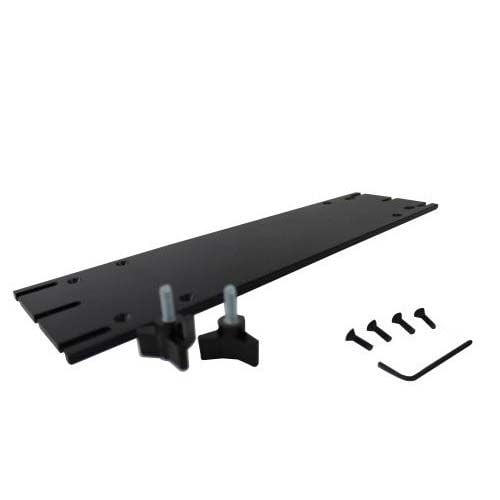
- 8 individual parts per pack
- Easy mount and convenient placement
- The perfect attachment kit for the OD4012
- Easy tool to upgrade your model
Product Name
Item Number
Price
Qty
ProductDescription
Are you sick and tired running around from one machine to the next just to finish one document? Let Rhin-O-Tuff provide a more convenient work environment by combining all your need into a one stop machine where you can do all your work. The mounting kit will secure any module onto the OD4012 Onyx turning it into the perfect package. Features a solid metal plate, it will connect the module to the machine without damaging or scratching the surfaces of each. If you want to turn your transporting time into productive time, the first step would be the mounting kit and the rest are history.
Product Details
- 8 individual part per pack
- Easy mount and convenient placement
- The perfect attachment kit for the OD4012
Demonstration Video

Rhin-O-Tuff MK2000 Module Mounting kit for OD and HD Onyx Punches Demo Video
Transcript :
Welcome to MyBinding video. Let's have a look at the Rhin-O-Tuff MK2000, a module mounting kit for OD and HD Onyx punches. Rhin-O-Tuff modules are engineered to save space by sitting on top of the different punches; this universal mounting kit allows you to do so so they stay put and they stay safe. With tools and parts ready to go, use the Allen wrench on the left- and right-hand side to remove the bolt so that you can put your frame on. Be sure only to remove the front two bolts on the top row. When all four bolts are removed, use the provided bolt to take the carriage with the frame and put ...
Welcome to MyBinding video. Let's have a look at the Rhin-O-Tuff MK2000, a module mounting kit for OD and HD Onyx punches. Rhin-O-Tuff modules are engineered to save space by sitting on top of the different punches; this universal mounting kit allows you to do so so they stay put and they stay safe. With tools and parts ready to go, use the Allen wrench on the left- and right-hand side to remove the bolt so that you can put your frame on. Be sure only to remove the front two bolts on the top row. When all four bolts are removed, use the provided bolt to take the carriage with the frame and put it on each side. Bolts go right in here, two on each side, fasten them all the way in, good and tight, nice and even. It will be on these two braces that all your modules will bolt down and hold into place. When these are in place, make sure the top of the machine is completely clear, so you're ready to mount anything on top. And this universal mounting plate is what will go on the bottom of each module, just like this, fastened in by the bolts that fit for that module. The plate is bolted into place on the bottom of the module, then the module placed on top of the punch, where the plate then mounts to the braces, held into place by this star-shaped plastic covered bolts. They're hand screws, you bolt them right down, hand tight. You'll have four of them, so you can use two on each side, or depending on the configuration of some of the modules, just one on each side. With the module and the punch together, you can see the efficiency in the workspace. Here's the HD8000 with the HD7700, also on top of the OD4012 and the HD7000. And this coil inserter also mounts in with the MK2000 module mounting kit. For more demos, reviews, and how-tos, check out MyBinding.com.


