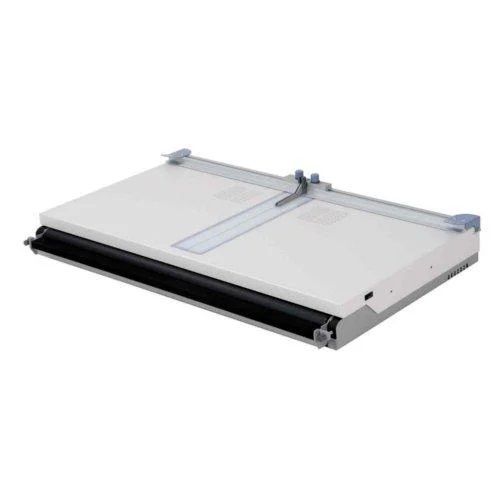
Fastbind Casematic H46 Pro Case Maker
- Max print size (W x L): 1080 x 530 mm / 42.5 x 20.8 inches
- Max finished case size, opened (W x L): 1040 x 490 mm / 41.0 x 19.3 inches
- Max. folding length: 1040 mm / 41 inches
- Thickness of the cardboard: Up to 5 mm / Up to 0.2 inches
- Oversize / Truck shipping
Starting At
$4,995.00
Choose Product Below


SWIPE FOR MORE IMAGES
- 0
- 1
- 2
- 3

| Product Name | Item Number | Price | Qty | ||
|---|---|---|---|---|---|
| Fastbind Ha10 Corner Cutter | FBCORCUT | $495.00
|
|||
| Fastbind Casematic H46 Pro Case Maker | FBH46PRO | $4,995.00
|
|||
| Fastbind Side and Back Guide for Casematic | FBCSSIDE | $249.00
|
Product Description
Make professional tailor-made cases in the format of your choice, upto 18" x 18" , in a matter of minutes with Fastbind Casematic H46 Pro Case Maker. Design the cover of your dreams and print it on your digital printer (laser or inkjet). Then, just follow the easy steps on your Casematic H46 Pro to produce the actual case or cover. This case maker is ideal for photographic studios, photo labs and professional photographers as well as digital printers, copy shops and on-demand publishers. This Fastbind Casematic H46 Pro is perfect for making books and photo book covers, CD, DVD and Blue-ray cases, ring binders and many more. This Fastbind Casematic H46 Pro Case Maker comes with an adjustable edge folding unit and compatible with Fastbind FotoMount Binders, Fastbind BooXTer Binders and Fastbind Hot Melt Binders.
Product Details
- Professional tailor-made hard covers and cases to a maximum size of finished case size of 1040 x 490 mm or 41" x 19.3" (18" x 18" cover).
- Includes adjustable edge folding unit.
- Compatible with Fastbind FotoMount Binders, Fastbind BooXTer Binders and Fastbind Hot Melt Binders.
- Optional tools and Accessories: Corner Cutter or Side and Back Guide.
Item Specifications
- Max print size (W x L): 1080 x 530 mm / 42.5 x 20.8 inches
- Max finished case size, opened (W x L): 1040 x 490 mm / 41.0 x 19.3 inches
- Max. folding length: 1040 mm / 41 inches
- Thickness of the cardboard: Up to 5 mm / Up to 0.2 inches
- Voltage: 220- 240 V / 110-120 V
- Frequency: 50-60 Hz / 50-60 Hz
- Max Current: 1 A / 1 A
- Machine Dimensions (W x D x H): 1130 x 684 x 200 mm / 44.5 x 27.0 x 7.9 inches
- Manufacturer's Warranty: 1 Year On All Parts
- Net weight: 45 kg / 99 lbs
Demonstration Video
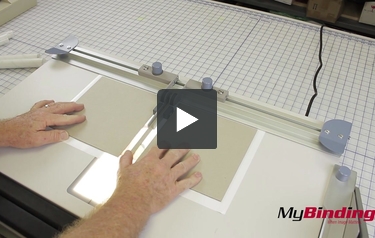
Making a Hard Cover - Fastbind Casematic H46 Pro
Transcript:
This is the Fastbind Casematic H32 Pro Case Maker! The following instruction work for both the H32 Pro, and the larger H46 Pro.
Before we start making a hard cover, first turn on the fans, and use the opposite switch to turn on the backlight.
First, align the left spine guide with the black line. Next place on your spine board and loosely trap it between the two holders.
Next, place on the appropriate spine spacers.
With your project printed on the tacking sheet, next laminate it using a single side lamination. Ensure your tacking sheet is wider than the lamination, or use another ... Read More
This is the Fastbind Casematic H32 Pro Case Maker! The following instruction work for both the H32 Pro, and the larger H46 Pro.
Before we start making a hard cover, first turn on the fans, and use the opposite switch to turn on the backlight.
First, align the left spine guide with the black line. Next place on your spine board and loosely trap it between the two holders.
Next, place on the appropriate spine spacers.
With your project printed on the tacking sheet, next laminate it using a single side lamination. Ensure your tacking sheet is wider than the lamination, or use another method of single side lamination, then trim it to size.
With the tacking sheet ready, peel of the release liner. Your print should utilize the appropriate alignment marks at the top and the bottom. Use these guides to align your cover to the bottom horizontal line and the center line on the machine.
Roll your fingers off and bring the clamping bar back down. Then place in your spine board.
Slide your front and back chip boards along the clamp until it aligns against the spacer. Then place the board onto the tacking sheet.
At this point, you can place on the optional side and back guides to skip aligning your tacking sheet to the center marks--speeding up workflow on following covers.
Next, slide your project from the clamp and raise it. Place in scratch paper spacers in the empty spaces between boards.
Next, cut the corners off the tacking sheet. We are using the Ha10 Corner Cutter to simplify this process. Manually cut them at a 45 degree angle, three millimeters from each corner.
With the corners cut, slide the project up and rub the end against the machine. Then, slide it into the press. Rotate it around and repeat.
Press each corner and center areas that have not been effectively tacked. This is important for a clean finish.
Next press the final two ends to the board. Rub, and insert into the machine.
As the final finishing step, set a roll laminator to 100 degrees fahrenheit, and insert the cover. Your cover is now complete.
You can make any size hardcover you would like with this machine. Or upgrade to the Casematic H46 pro for even larger specialty hardcovers.