Bind It Yourself: DIY Guide to Creating Beautiful Notebooks for Holiday Gifts

Estimated Reading Time
- 3 Minutes
TLDR
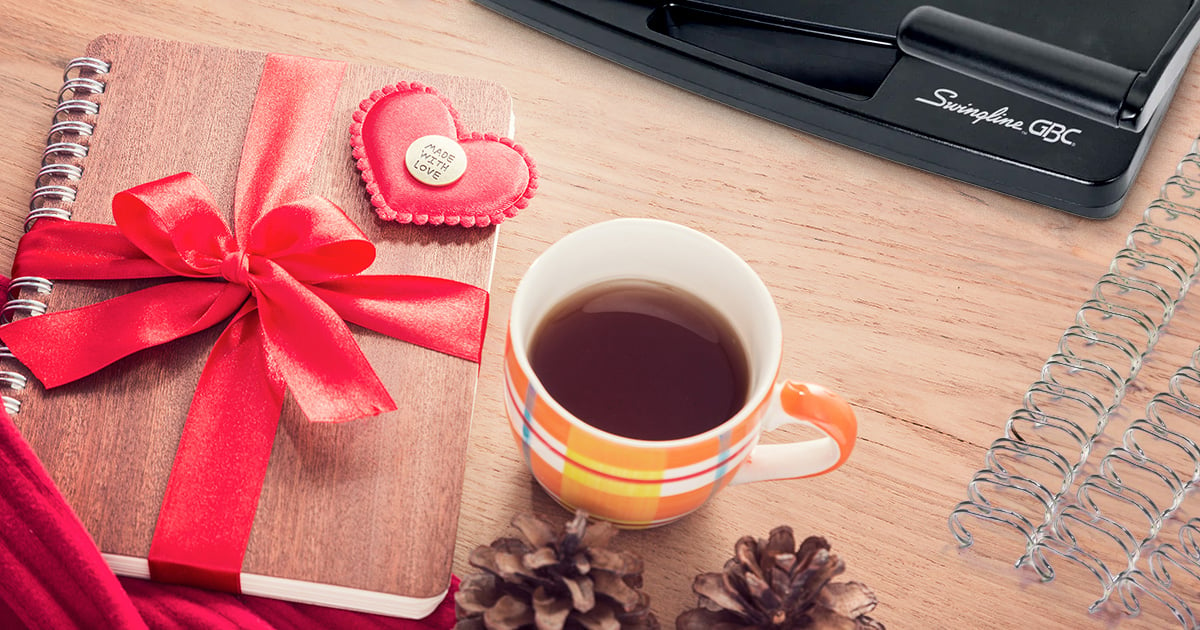
During the holiday season, crafting is more than just a hobby— it’s an expression of love. Making a DIY notebook can turn an ordinary holiday gift into a cherished keepsake, adding a personal touch that store-bought items can’t match. This article will give you a step-by-step guide to making a handmade notebook that’s sure to delight for any holiday.
The holiday season is just around the corner, and what better way to spread joy than with trending homemade gifts? If you’re looking for easy Christmas gift ideas for friends that stand out from the rest, a DIY notebook may be just the solution you need. In this guide, we’ll show you how to craft beautiful notebooks that will make your loved ones feel special.
Save Money with a Personalized Holiday Gift
Who doesn’t love a little extra savings during the busy holiday season? Crafting your own personalized holiday gifts gives you the chance to save some cash and adds a personal touch that store-bought gifts can never provide.
Plus, there’s an unparalleled joy when you make your own gift. Just think— every inch of it is a reflection of the hard work, thought, and care you poured into it. Imagine how delighted your loved one will be when they unwrap a gift made especially for them. It’s truly priceless!
Notebook Binding Supplies
So, are you ready to make your own gift? Before you start crafting your DIY notebook, you need to gather the right tools and materials. Here’s everything you’ll need to make your project a smashing success.
Paper
First, you’ll need paper. You can choose between plain or lined sheets based on your needs. If you want a hassle-free experience, pre punched papers are a godsend. But if you’re feeling adventurous, explore options like unpunched, perforated, or even specialty papers.
Covers
A notebook cover is its first impression, and you want to make a good one. You can choose from various materials, from elegant leatherette and linen to sleek clear and metallic covers. A rainbow of colors are also available. And let’s not forget the feel! Choose hardcovers for a sturdy grip, soft covers for flexibility, or a report cover for that professional touch.
Hole Drill or Puncher
Now you’ll need a way to punch the holes in your book. You can use a basic hole punch if you’re making a looseleaf bound notebook or a binding punch machine if you’re going for a more traditional style. If your notebook is really thick and you plan to make several, consider a paper drill.
Binding Supplies
Binding is where your notebook really starts to come together, turning those loose sheets into one work of art. There’s a method to match every style, including:
Padding Glue and Accessories
If you want tear-off pages (think: coupon book), creating a notepad style notebook is the way to go. To achieve that perfect peel, you’ll need padding glue and a few essential padding accessories like a padding bruch, chipboard backing, and pressure clamp.
Foiling
Want to add a little extra pizazz to your notebook? Try foiling! Adding shimmering designs, titles, or even personal messages is simple— all you need is laminating foil and a pouch laminator! This decorative touch can give your notebook a luxurious finish that catches the eye. Just note that it only works on smooth paper, so keep that in mind if you want to foil the notebook covers.
Step-by-Step Guide to Creating a Beautiful Notebook
Creating a notebook may seem challenging, but it’s actually a straightforward and enjoyable process. Consider the following steps to transform your pile of supplies into a masterpiece.
1. Cut and Prepare Your Paper
Start by determining the size you envision for your notebook. While standard sizes like A4 or letter size are popular, don’t be afraid to customize it to your liking. Once you’ve decided on the dimensions, cut your paper accordingly. Then, fold the sheets in half, making sure they align perfectly.
2. Create the Cover
Next, it’s time to give your notebook its protective cover. Cut two pieces of cardstock to match the sizes of your pages. They will be your front and back covers.
You don’t have to stop at plain cardstock. Unleash your creativity by decorating the cover with decorative paper, fabric, or any other embellishments you’d like!
3. Punch Holes
Next, use your hole punch to create evenly spaced holes along the folded edge of your pages and the covers. The number of holes you need depends on your binding method.
And don’t forget to make sure these holes align perfectly across all pages and covers for a more polished finish.
4. Binding
Now it’s time to bind your notebook. Your steps will depend on the type of binding you choose:
- Coil binding: Use a coil binding machine or DIY kit to insert the coil through the punched holes.
- Adhesive/Notepad: Apply a generous amount of adhesive to the spine of your pages and press them onto the cover.
- Looseleaf: Simply place the ring or screw through your punched holes and close.
5. Trim Excess
Once your notebook is bound, you might notice some excess paper sticking out. No need to fret! Simply take a pair of sharp scissors or a trimmer and carefully snip away any overhanging bits for neat, uniform edges.
6. Personalize
Now for the extra fun part! Make your notebook your canvas and let your creativity shine. There are so many ways to personalize your notebook, such as adding:
- A splash of color
- A meaningful quote
- A decorative label
- Stickers
- Doodles
- A personal message
The sky's the limit, and these personal touches transform your gift into something truly memorable.
7. Allow to Dry
If you use a glue binding method, give your notebook plenty of time to dry. Place it in a well-ventilated area and leave it alone until the glue completely dries according to the manufacturer instructions.
8. Wrap your Gift
The final touch to your DIY notebook is the presentation. You can elevate your notebook gift with delightful packaging. Nestle it on a bed of crinkle paper, then place it inside a gift box to make the unwrapping experience as delightful as the gift itself.
Make the Holidays Special with DIY Gifts
There’s something truly magical about gifting something you’ve made with your own hands. Crafting a DIY notebook allows you to pour your love, thoughtfulness, and creativity into every page, creating a gift that’s cherished and remembered.
Are you ready to start your creative journey? MyBinding’s got you covered! We provide an extensive range of notebook supplies to help make your DIY holiday gifts memorable.
Need help choosing the best notebook-making equipment and supplies for your holiday gifts? Give us a call at 1-800-944-4573 for one-on-one help.


