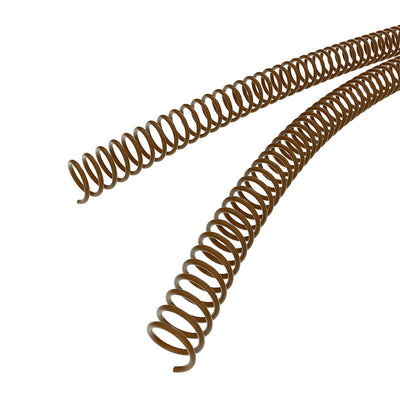
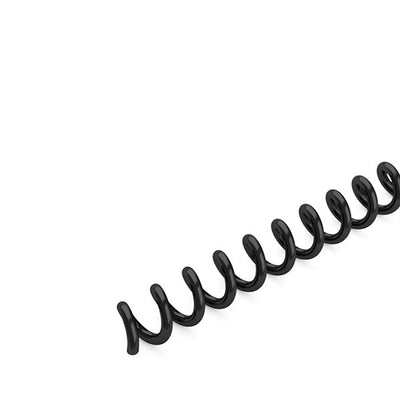
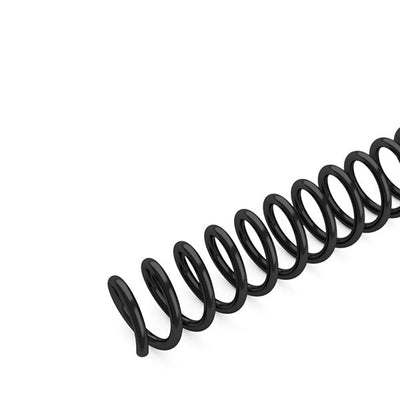
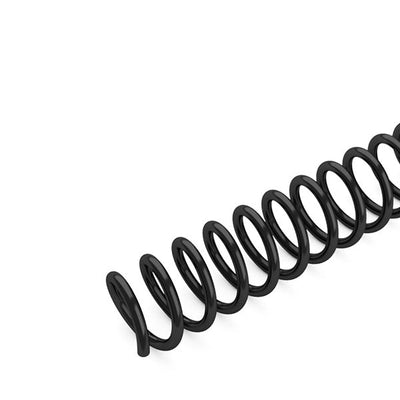
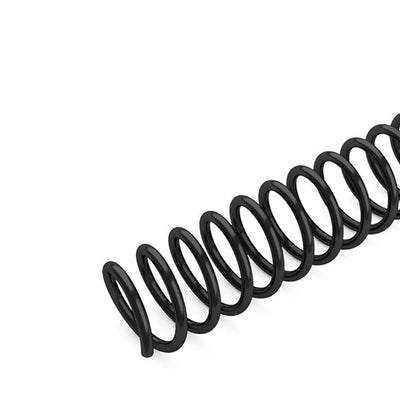
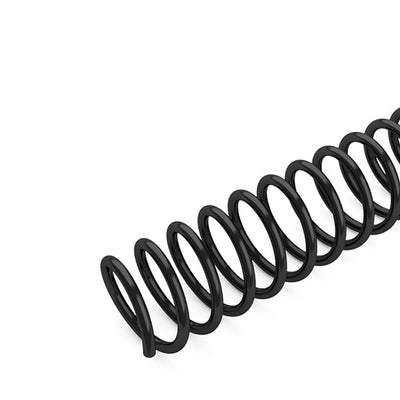
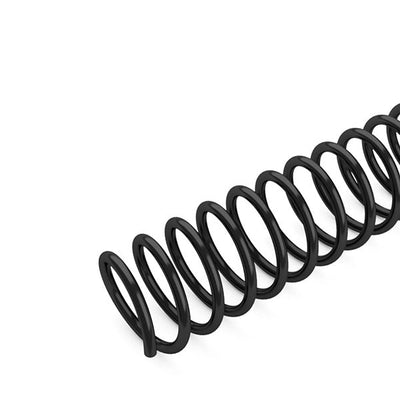
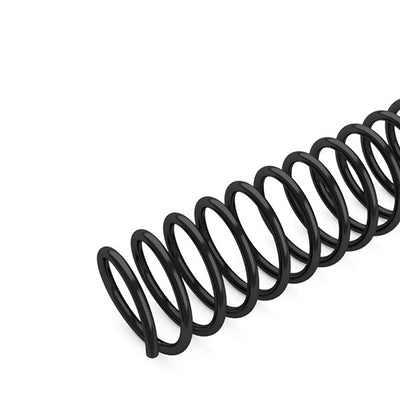
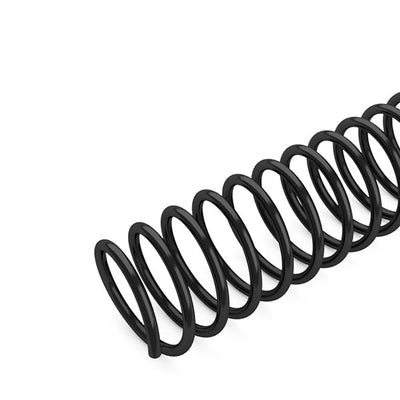
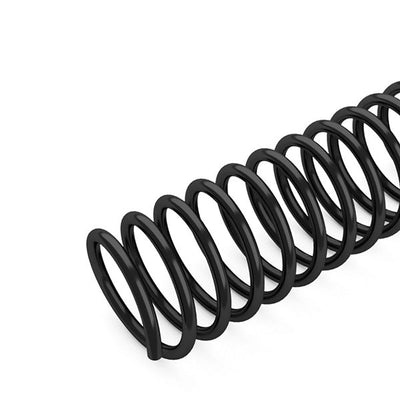
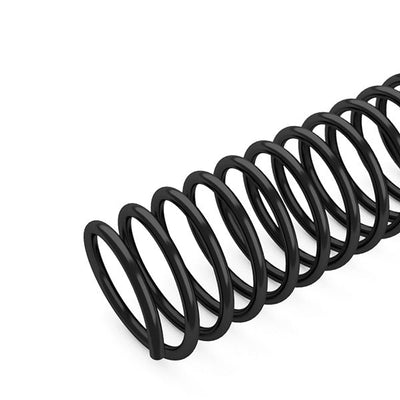
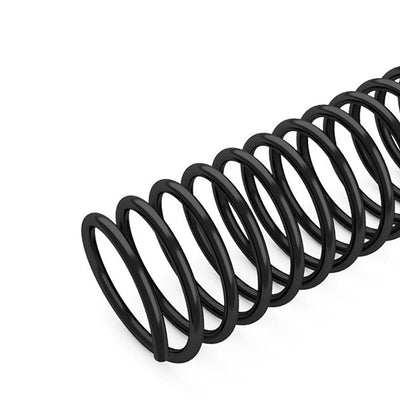
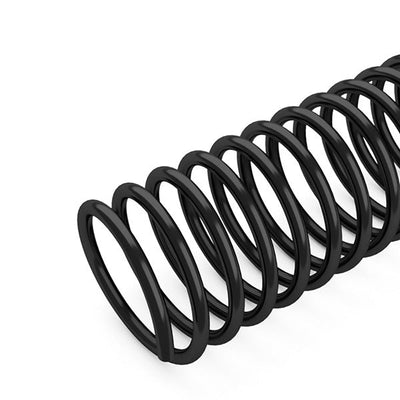
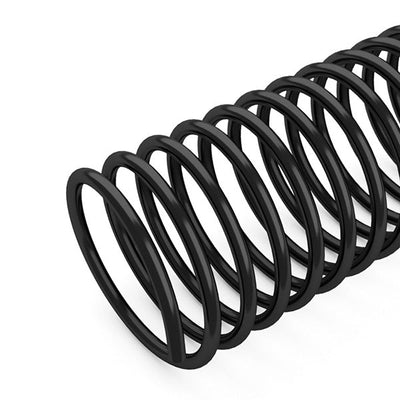
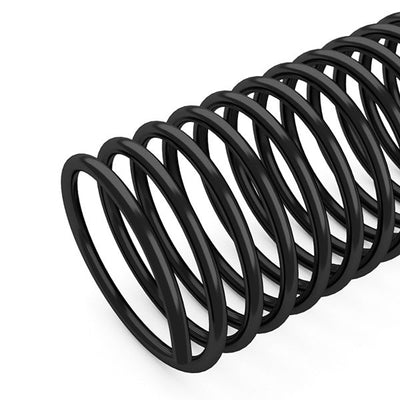
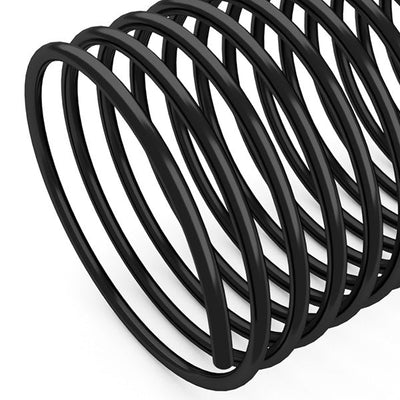
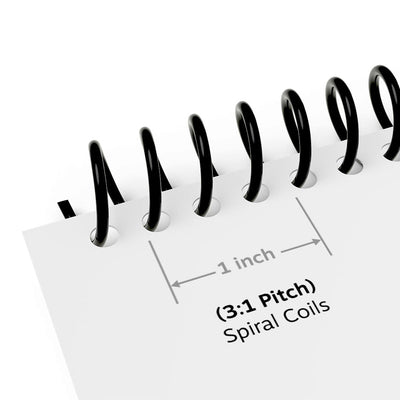
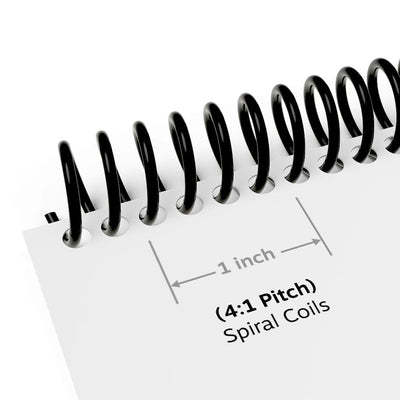
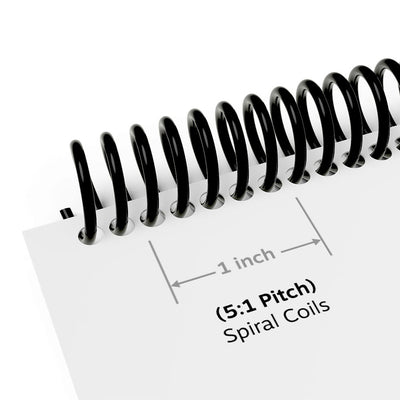
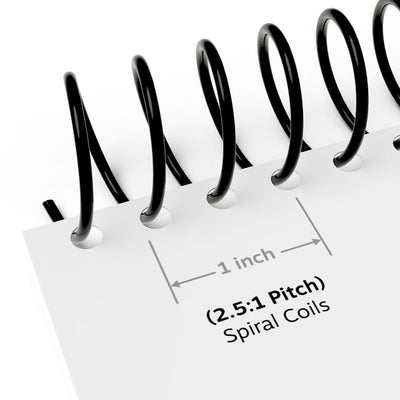
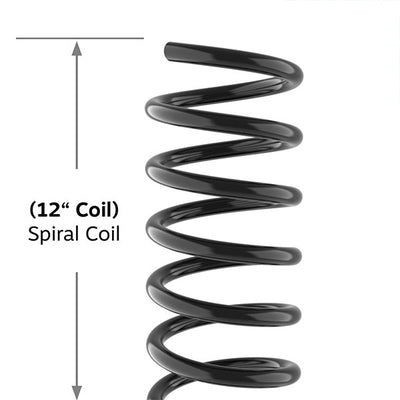
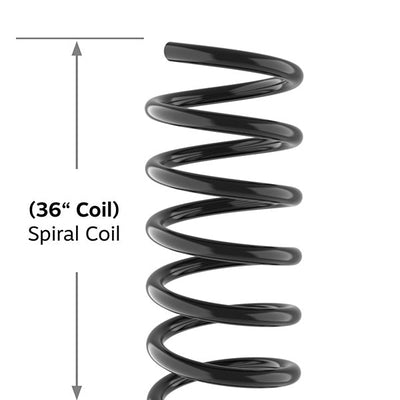
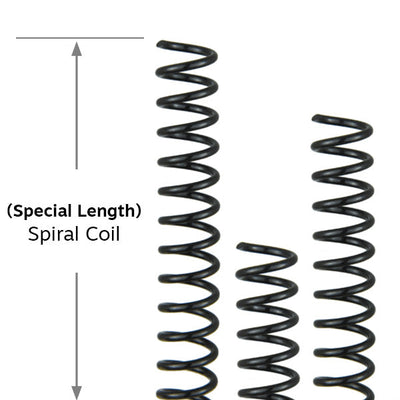
How do I bind a document using spiral coil binding?
Binding a coil book is easy! Just use a coil binding machine to punch the holes in your page, select your coil size, spin the coil through the holes, and lastly, crimp in the ends of the coil. It only takes a couple of minutes and can be done by nearly anyone.
Do you have a glossary of coil binding terms?
What features should I look for in a spiral coil inserter?
Some
spiral coil inserter features to consider include the number of rollers (two is better than one), roller spacing (is it adjustable or stationary?), spine forming (does it have a channel to help form your book block?), and operation (do you want a push button or foot pedal control?).
What features should I look for when buying a coil binding machine?
Some of the most important
feature considerations when choosing a coil binding machine include the feed opening width (maximum sheet size), when it has an open-ended feed, the punching capacity, whether it has disengageable punch pins, whether it is round or oval holes, if it has an electric roller inserter or crimper attached, and the pitch/hole pattern (standard is 4:1).
How do I bind large documents with Color Coils?
Binding larger books with coil can be tricky given how small and closely-spaced the holes are punched. First, you should form the book spine to a curve to match the curve of your coil using a
coil binding sleeve. You will also, ideally, be using a machine that punches oval holes instead of round. Having an electric inserter that has adjustable spacing between the two rollers is another key factor to make it easier.
What should I know about Spiral Coil Binding?
Spiral coil binding is pretty awesome! It comes in a huge selection of colors, is flexible and offers bounce-back (making it extremely durable), offers 360° back-to-back page turning, and comes in a huge variety of sizes to bind as few as a couple pages to as many as 440 sheets.
What else should you know? Let’s face it, coil binding is fun!
Are there easier ways to bind a document with coil binding?
For those who regularly
bind documents with coils), there are three main strategies to enhance efficiency and ease in the process. First, using
pre-punched paper with the correct 44-hole pattern for letter-sized documents can save considerable time. Second, curving the spine of the document, possibly with the aid of a spine forming channel or a plastic binding sleeve, can make coil insertion simpler. Lastly, proper handling of the coil crimpers, specifically ensuring that the red dot is facing up, is crucial to avoid clipping instead of crimping the coil.
How can I make a spiral notebook without a machine?
Making a
spiral bound book without a machine involves choosing spiral coil for its wrap-around functionality and durability, selecting the right type of coil (usually plastic), and utilizing pre-punched paper that corresponds with the coil's pitch ratio. Tools like crimping pliers and an understanding of the available coil options, including standard coils and special types like GBC's Proclick, can further facilitate this process. This approach allows for a functional, resilient, and aesthetically pleasing book.
How do I use Coil Binding Sleeves?
Coil binding gives documents a professional appearance but can be challenging due to the flexible nature of the coils. Coil binding sleeves assist in this process by curving the binding edge to match the coil curve and
keeping pages secure. To use them, first, proofread and print the document on quality paper, and punch the appropriate holes. Select a binding sleeve that fits the thickness of your document (ranging from 1/4” to 2”), and place the paper inside, with holes facing out. Spin the coil through the first few holes, then insert the rest manually or with an electric inserter. Crimp the coil ends to secure them, following the specific instructions for using crimping pliers. Once done, slide the document out of the binding sleeve, and your professional-looking coil-bound document is complete.
How do I use my coil crimpers?
Key tips for successful crimping include always keeping the marked dot on the crimpers facing up, holding the book parallel to the floor with the coil facing you, and crimping both ends of the coil carefully, making sure to give an additional squeeze to ensure that the coil is fully bent over. Flip the book over as needed to ensure proper alignment of the coil ends.