MyBinding Knowledge Base
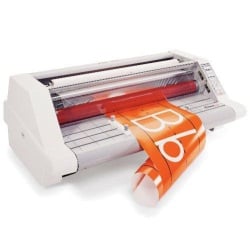
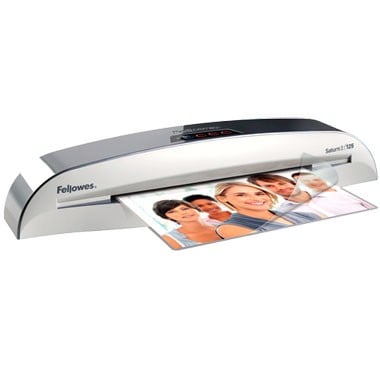
How do I change the film on my school laminator?
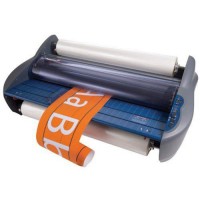
Laminating documents with a school laminator is pretty easy. Unfortunately, loading film onto your school laminator is not quite as simple. In fact, the number one reason for service calls on school laminators is that the film was loaded incorrectly. With this in mind, it is important to be very careful when loading film onto your laminator so that you don’t load it backwards or incorrectly.
If you do end up loading your laminator incorrectly, adhesive may end up being deposited onto the rollers. It is important that you do not allow this to happen. Otherwise, you will need to scrub the adhesive off the rollers before you can laminate any other documents. Adhesive may be deposited on the rollers if:
- You try to laminate with only one roll loaded on your machine.
- You try to use two different widths of laminating film at the same time.
- Either roll of laminating film is loaded upside down (with the adhesive towards the roller). The shiny side of clear film should be in contact with the heat rollers and the dull side with the adhesive should face out.
- One or both rolls of film are allowed to completely run off the cores of the laminator.
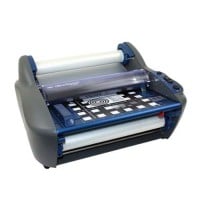
Being careful to not allow one of these things to happen, here are some simple steps for loading film onto your school laminator. Please keep in mind that you should always replace both rolls of film at the same time.
- Turn the main power switch on. If the laminator is already hot, turn the main power switch to off and allow it to cool down before turning the machine back on.
- Remove the feed table from the laminator so you can see both rolls of laminate that are mounted on the laminator.
- Cut the remaining top and bottom film webs between the supply rolls and the heated rollers. Be very careful not to cut the heat rollers in the process since this could ruin them.
- Raise the safety shield to its full upright position and pull the top piece of film down.
- Remove the existing film from the laminator. One of the easiest ways to accomplish this is to use the reverse function of the laminator to slowly back the laminate out of the machine. Be careful during this step to make sure that no adhesive comes in contact with the heated rollers on the laminator. You may need to reinstall the feed table to complete this task. Just remember to remove it again after the film has been removed.
- Remove the bottom roll of laminating film by sliding the right to release it from the hex shaped brake hub. Loosen the locking screw on the left retaining collar of the film supply shaft and slide the collar off. Pull the shaft partially out of the film tube and then push it back in to knock out the left core. Pull out the shaft all the way out of the tube and remove the remaining core adapter.
- Slide one core adapter into the right side of the new roll of film ensuring that the film will unroll properly (from the bottom). Slide the film shaft into the core adapter and tube from the right side. Place the other core adapter on the shaft protruding from the left side then replace the retaining collar. Tighten the locking screw.
- Lower the bottom idle bar.
- Unroll 2ft of film and push the idler bar back into place and drape film over the bottom roll of film. Place the bottom roll of film back into the round hole of the right side frame and the left side into the hex shaped brake hub.
- Remove the top film supply roll from the laminator and repeat steps 6 and 7 from above. Ensure that when you install the film onto the roller that the film will unroll from the bottom after the film supply is loaded back on the laminator.
- Unroll 2ft of film and drape the film over the top idler bar and completely over both heat rollers
- Slide the feed tray under the bottom film web that is draped over the bottom roll of film. Reinstall the feed table so that the bottom film is resting on the tray.
- Slide the threading card between the feed tray and the laminating film that is laying on the tray. Gently push the threading card into the nip area of the heat rollers. The card should now be guiding both rolls of film into the heat rollers
- Lower the safety shield and press the RUN button on the laminator. Watch the leading edge of the threading card to ensure that it enters the nip area of the heat rollers and is being pulled into the laminator. Push STOP once the threading card has exited the rear of the laminator.
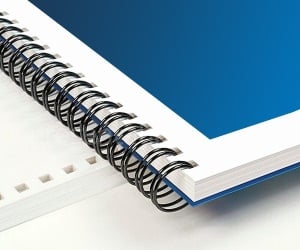
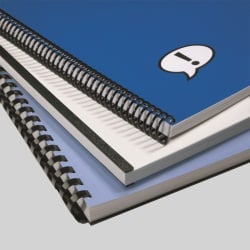
< Over the years, a number of customers have asked me whether they can use twin loop wire with their plastic comb binding machine. These customers often don’t want to have to buy a brand new machine but like the look and feel of twin loop wire binding. However, the answer to their question isn’t as simple as it seems. You see, they actually do make twin loop wire that is designed to work with the plastic comb binding hole pattern. With that said, if you want to use these wires you are going to need a way to close the wires. What is Spiral-O Wire? Let me explain a little bit more…There is a product that we carry called Spiral-O Wire. This wire has 19 loops and is designed to work with the hole pattern from a plastic comb binding machine. Spiral-O Wire is sometimes called Wire Combs or Ibico Wire and was originally designed for use with some of the older Ibico binding machines. A number of the older Ibico plastic comb binding machines also included a twin loop wire closer on the front of them to allow users to use both plastic combs and wire. This 19 loop wire was designed for this purpose. What Equipment is Needed? As the Ibico brand has been phased out by GBC and all of the older Ibico plastic binding machines have been replaced with new models, they no longer have the twin loop wire closer on the front of them. This presents a problem in trying to use these spiral-o wires since you can’t use the wires without a way to close them. One of the only options left is to purchase a Twin Loop wire closer. However, since twin loop wire closers are not incredibly cheap this option usually only appeals to users who have larger electric plastic comb binding machines. Otherwise, it is often advisable to simply buy a low end 3:1 pitch twin loop wire binding machine (the supplies are cheaper). This being said, if you have one of the older Ibico binding machines that has a wire closer included you are in luck. The Spiral-O binding supplies that we carry will work perfectly with your machine and you will be able to use both plastic combs and wire depending on your needs. These Spiral-O binding supplies are available in Black, Silver, White, Blue and Red and in sizes up to 1″ in diameter. If you aren’t sure what type of wire binding supplies that you need to work with your machine simply give us a call. Our trained sales representatives will be glad to help you find the correct supplies for use with your machine.(Read More)