Thermal Binding Glue Strips for Create Your Own Covers - 40pk
67.69 NewCondition OutOfStock

We're sorry, but we no longer offer this item.

Call us at 1-800-944-4573 for personalized recommendations

or check out these similar items that may be a good fit:

Thermal Binding Glue Strips for Create Your Own Covers - 40pk

Part #: BIADSTRIP11
Brand: MyBinding
4 Questions, 4 Answers
  • Width: 1 inch
  • length: 11 inches
  • Thickness: 1 mm
  • Product Number: BIADSTRIP11
We're here for you!
Please call 1-800-944-4573 for help finding a comparable solution, or
Click to Chat

SWIPE FOR MORE IMAGES
  • 0
  • 1
  • 2
  • 3
video

Product Description

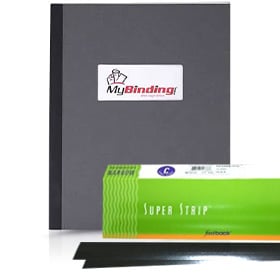
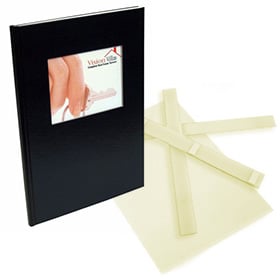
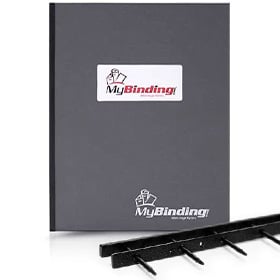
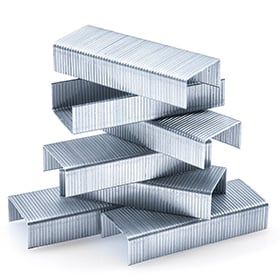
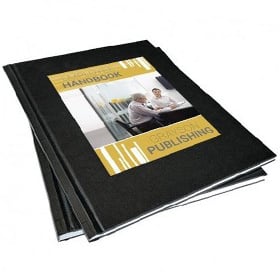
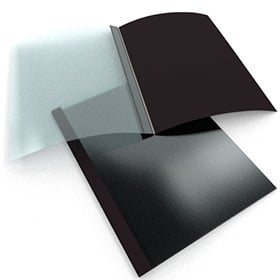
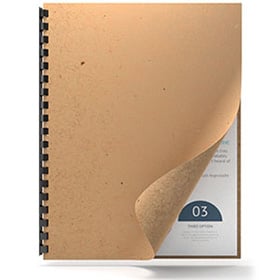
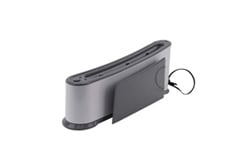
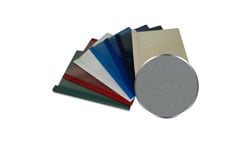
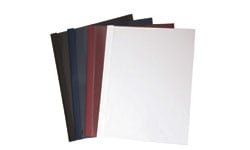
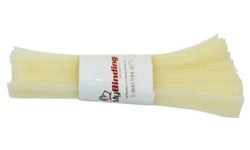
Use these glue strips to create your own thermal binding covers. These strips are 1" wide and 11" long. Just create your cover, cut the strip to the right width and length and you are ready to bind your book with your thermal binding machine. If you are interested in creating your own thermal binding covers you will need these strips. First you create your one piece cover for your book (being sure to score the cover for your spine). Then you can use these strips to create your own perfect bound books (its as easy as that). These glue strips are also sometimes used by libraries to repair soft cover books that are beginning to come apart. This price is for 50 glue strips. Need A Scoring Device for making your own Cover? Check out our selection of Cover Scorers / Scoring Equipment

Product Details

  • Width: 1 inch
  • length: 11 inches
  • Thickness: 1 mm
  • Quantity: 40pk
  • Product Number: BIADSTRIP11

Demonstration Video

How to Create Your Own Cover

Transcript: The materials we’ll be using are: a wrap around cover sheet, a glue strip, and your stack of pages
For our covers, we’ll be using a custom cut sheet—for the length, every measurement after 17 inches will be the thickness of your book, to which you can measure your stack before you cut or purchase the covers.
The first thing we are going to do is crease our cover.
And I do not mean, fold it be hand. Here is a closeup of a hand folded crease—notice how it looks cracked. Now compare it to the creases made by a creaser, and you’ll see how much better this cover loo ...
Read More

The materials we’ll be using are: a wrap around cover sheet, a glue strip, and your stack of pages

For our covers, we’ll be using a custom cut sheet—for the length, every measurement after 17 inches will be the thickness of your book, to which you can measure your stack before you cut or purchase the covers.

The first thing we are going to do is crease our cover.

And I do not mean, fold it be hand. Here is a closeup of a hand folded crease—notice how it looks cracked. Now compare it to the creases made by a creaser, and you’ll see how much better this cover looks.

Okay, back to creasing—we’re going to make four creases for the best quality.  I’m using the Fastbind C400 for this demo.

The C400 has double edged guides that I already measured out to 8.5 inches on both sides. You want to make a crease at both edges, and you’ll see why.

So here you can see the final result of 4 creased lines, two on each side from each guide on the machine. Two creases works as well if you want a quicker process.

Now we’re going to fold the inner two lines to make the shape of our book.

Next take a glue strip and cut it to fit in the spine of our project we just folded together.

Place the glue strip into the center of your cover. We don’t want it going over the edges, so trim off the ends so that there is about a centimeter, or a little less, of space between the ends.

With the glue still cradled in the center, pick up the cover and insert your pages, already printed, over the glue. Then jog your pages in place, nice and even.

Now insert your project into your thermal binding machine—here you can see I am using the Pro-Bind 1000.

When it’s complete, remove your project, tamp it down again to make sure all the pages are in the glue and let it cool.

In my first book, I did not cut my glue thick enough to cover the full width of the spine in all areas—in result you can see parts of pages are still exposed where they should not be. So make sure your glue strip fits well.

It’s kind of funny, now on my second book I did not leave enough space between the glue and the edge of the covers, so the glue came out then ends, onto my machine, to which I then had to clean—which is no fun.

So with a little experimentation, now you can find out how to best create a soft cover book for each of your own projects. It’s highly recommend to run some test first to get the process down before you bind your final projects.

Repair a Hardcover Book

Transcript: Welcome to MyBinding video. One of the largest costs that a library or book dealer deals with is the price of repairing or replacing ripped or damaged books. Typical costs are $6 to $8 per book, plus shipping and the book is out of circulation for quite some time. However, with ProBind tools, you can quickly, simply and cost-effectively repair your own books. Step-by-step, let’s watch just how simple that process is. First, you take one of the ProBind glue strips and cut it just a little bit shorter than the length of the book, about one-half inch on each side. Then you place that glue strip d ... Read More
Welcome to MyBinding video. One of the largest costs that a library or book dealer deals with is the price of repairing or replacing ripped or damaged books. Typical costs are $6 to $8 per book, plus shipping and the book is out of circulation for quite some time. However, with ProBind tools, you can quickly, simply and cost-effectively repair your own books. Step-by-step, let’s watch just how simple that process is. First, you take one of the ProBind glue strips and cut it just a little bit shorter than the length of the book, about one-half inch on each side. Then you place that glue strip directly into the spine of the book and close it up. When the adhesive warms up, it expands so to keep the glue from spilling out of the book and into the machine, cutting it a little bit short is wise. Additionally, you can take a regular piece of paper and fold it into thirds, making a little trough. Set that down inside the ProBind 2000 the book inside the paper and that will clean up any spills that might happen. With the book in place, slide the plate close and select hard cover. At the end of a short binding cycle, tap and press down on the book block, assuring that it’s all the way into that adhesive. Then slide the plate out, remove the book and place it into the hard cover crimper. Allow the handle to spring back and hold the book there in place. And after the book has cooled, remove it from the ProBind crimper and the repair is finished. So if book repair or the constant binding and rebinding is part of your life, institution or job, you know that ProBind is a great solution for you. Here at MyBinding, we’re committed to finding you a solution. For more demos, reviews and how-tos, check out MyBinding.com.

Questions & Answers

The Glue strips should work fine with any thermal binding machine.

Answered by MyBinding.com
3 years and 2 months ago ago
Great Question! Our current inventory does have a meshing on it. Occasionally when our vendor is unable to fulfill our stock, we do have a substitute brand that does not have the meshing. Both are very good bindings. You can always call us at 800-944-4573 to confirm the glue strips we currently carry but we rarely substitute this product.

Answered by Mybinding.com
5 years ago
The glue strips do only come in a 1 inch by 11 inch length however, they are easily cut. You also want to make sure you leave about a 1/4 inch free on each side of your spine as the glue does turn to liquid as it heats up and can leak out of your spine. We hope this helps answer your question.

Answered by Mybinding.com
6 years and 5 months ago ago
Thank you for your question. The Thermal Binding Glue Strips measure 1" by 11" . They can be trimmed to to fit in the spine of your custom cover.

Answered by MyBinding
7 years and 10 months ago ago

Submit a New Question

Get Code