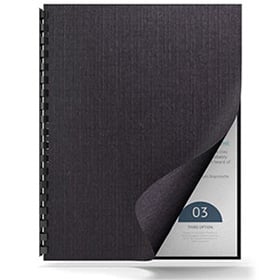
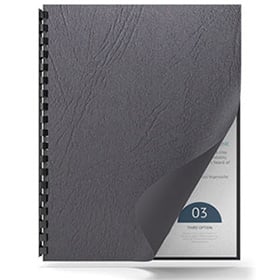
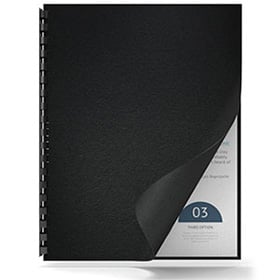
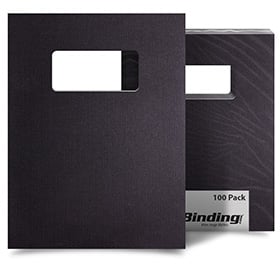
Powis Parker Fastback LX Binding Strips
Folding LX Binding Strips For The Fastback 9 Demo
And now lets take a closer look at the binding strip and see how it is constructed. You will notice that the underside of each binding strip there are...
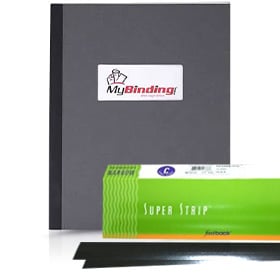
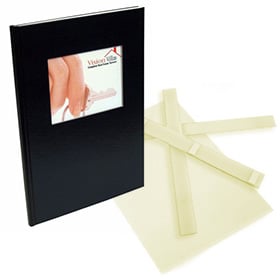
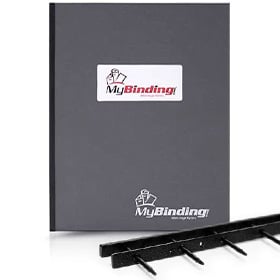
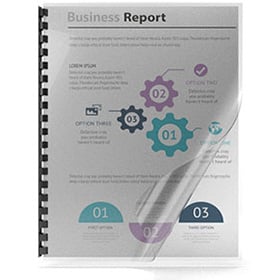
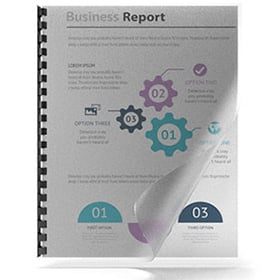
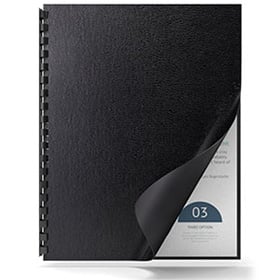
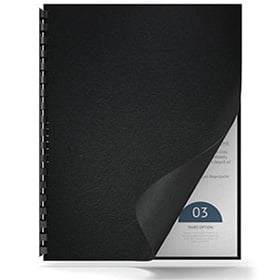
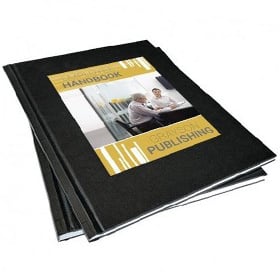
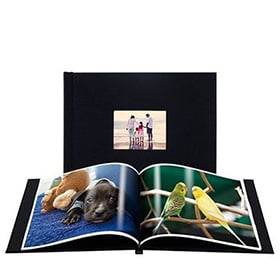
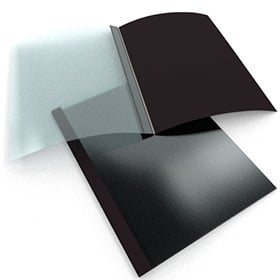
Welcome to MyBinding video, today we are looking at the Powis Parker Fastback 9. This demonstration video is on how to fold a binding strip. In this video we will examine four different kinds of binding strips. Pictured here are two LX strips, a comp strip (the green one) and a regular LX strip (the gray one). Both of them are narrow. This is a black medium sized LX strip, note the difference in size. And finally a custom printed image strip.
And now lets take a closer look at the binding strip and see how it is constructed. You will notice that the underside of each binding strip there are a series of lines. Some of what you see is the adhesive product and some of it is creases to make the proper fold. These lines are not symmetrical and you will note that you don't make creases in the center of the binding strip. A simple pinching motion will help you find the correct spot to make the crease. This fold can be made in the hand or on a flat surface.
In reality this folding process is very simple. You will only need a couple of practices at it before you have it down pat. And the strips themselves are really very forgiving should you pinch in the wrong spot. Really the fold ends up coming up in the right spot, because of the crease that is already there.
The image strips, though different are especially easy to fold because of their construction and the placement of the crease. Now let's take a look at how you take the folded binding strip and place it into the system. With folded binding strip in hand and nothing else in the system, place the binding strip into the opening being sure to slide it all the way over to the right side. Next to the menu button panel.
With narrow and medium LX strips as well as comp strips, the shorter end of the folded binding strip lays against the back wall up against the heating element. The longer edge will lay flat on the floor upon which you put your document. Setting up an image strip is a bit different. The crease is done the same way with the pinch and the slide. But with an image strip, when you place it into the machine the long end or the tall end goes against the back towards the heating element and the short edge will go along the floor, upon which you will put your document.
So there you have it, the simple easy way to bind books with the narrow, medium and the custom printed image binding strip. Now you are set to make some fantastic looking books with the Fastback 9. For more ideas, demonstrations and other videos on the Fastback line, check out MyBinding.com
MyBinding is happy to offer FREE SHIPPING for qualifying orders. Qualifying orders require a sub-total of at least $75.00 (before sales tax and shipping), a shipping address within the continental U.S.A., and be shipping via ground service (UPS Ground, FedEx Ground, or USPS). All free shipping occurrences are at the discretion of MyBinding.
| Order Sub-Total(Product Only) | Ground Shipping Rate | Oversize Packages & Freight Truck |
|---|---|---|
| $0.00 to $74.99 | $9.95 Flat-Rate | Shipping price varies based on delivery locaton and products orders. Add items to your cart and enter your delivery information for a quote. |
| $75.00+ | FREE Shipping |
Exclusions: Free shipping does not apply for oversized packages or orders requiring freight truck shipping. Expedited orders do not qualify. Orders shipping outside the Contiguous United States (including Hawaii, Alaska, Puerto Rico, etc.), to military addresses or Canada do not qualify. For all orders excluded from free shipping, actual shipping rates will apply. Get a quote by adding all items to your cart and entering your delivery information.


