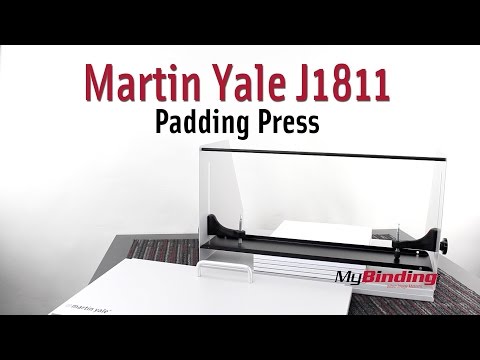
Removable back automatically jogs paper for an even surface
Accepts paper up to 17.75" wide
Perfect for offices, schools, & print shops for medium to large projects
Product Description
The Martin Yale J1811 padding press is designed to allow small or large print shops to quickly and easily make their own carbonless forms, note pads and scratch pads. The sturdy metal construction means that the J1811 padding press will hold up under normal usage in a print shop environment. The J1811 padding press will hold materials that are up to 5-3/4" high and up to 17-3/4" wide. Buy the Martin Yale J1811 Padding Press today and start making your own pads in no time.
Product Details
Simple operation makes it easy to handle most small padding jobs
Ideal for padding carbonless forms, note pads, and scratch pads
Wing screws tighten by hand - no tools necessary
Padding capacity is 5 3/4" high and 17 3/4" wide
Sturdy steel construction
Dimensions: 19" x 11" x 13"
Weight: 18 lbs.
UPC Code: 11991018110
Manufacturer's Warranty: 180 Day Manufacturer's Warranty (Extended Warranties Available)
Before we start with the press, you always need to start with your actual pads. Count out one stack to begin with to the desired size. Then using a pad counter, measure the stack thickness. Place the stack on a piece of chipboard and set it aside. Now use the counter to snag onto the edge of your stack, which separates a new stack, the same size as your first template.
When your pads are counted out, bring it all to a paper jogger to even it all out.
Now we come to the press and hang the door piece on the black bar. It should overlap both sides. To help with clean up later, I like to place in a folded scratch page first. Then push the stack of pads against the door. You can use the sides to even it out more if needed.
Place on another scratch paper, and then the pressure plate against the door as well. Bring the clamps down onto the plate. You can tighten them to hold the pages well. Also note, that the press is wide enough to accommodate two stacks of standard 8.5 x 11 paper.
Now remove the door to reveal the edge of you stack.
Lightly wet your brush before use.
Now, take your padding compound and apply it evenly on the entire side of the stack. Make your stroke front the center to the edge to avoid getting glue on any other sides. It should be evenly applied, but you donš™t need to use too much of the glue.
When finished, rinse the brush clean.
Now, youš™ll see that I applied too much glue, which the extra just drips down to the bottom. The press has a channel to catch this, but since Iš™m using scratch paper to catch it, I need to fold it into the channel so it doesnš™t gather on the side of my bottom pad.
After letting it dry for 60 to 90 minutes it should be ready to remove from the press. You can peel off the scratch paper. You really see why you donš™t want to use too much glue nowš”see how it still clings to the bottomš”and now it takes more work to clean up.
Next, you can use a pad separating knife to separate the individual pads. But from the experience of myself(who is not an expert in the field), itš™s easier to just peel each one off by hand.
As a trick to save time and make smaller pads, if you glue both sides of your paper then cut it into four sections using a stack cutter, you then have a lot more smaller pads in way less time.
Works perfect and makes it easy to do a nice job …
The only issue so far is that the back slider plate had a slight bow to it. Straightened it out. Works perfect and makes it easy to do a nice job of padding.
P
P&R
Good product
Wish I had bought this sooner, I've been doing padding with plywood and hand clamps but this makes the job go so much faster, easier and frustration free, especially with the uneven items we pad like envelopes. Very pleased with this press.
M
Mick McArt
The Best!
I was doing pads by hand with paper clip things and this device made things 100% better! Worth the money!