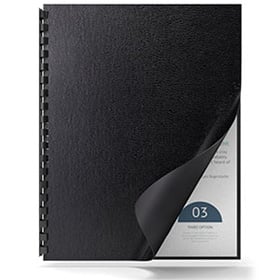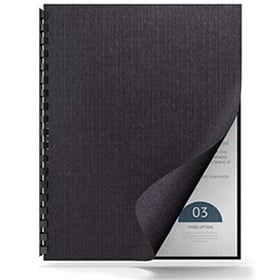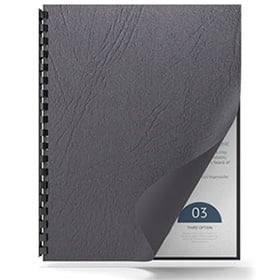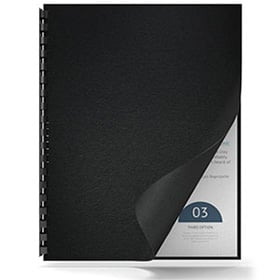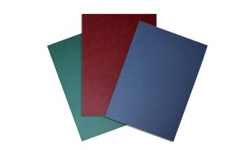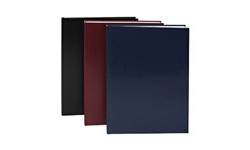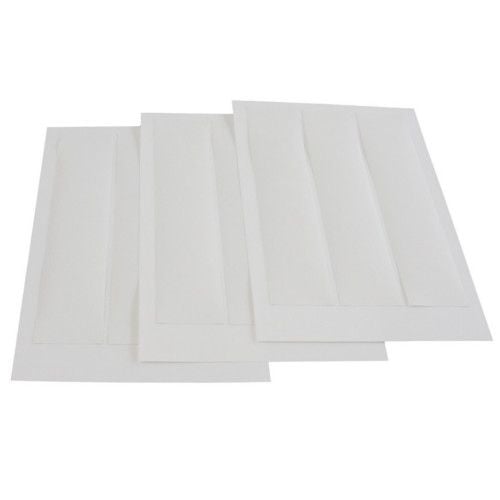
Powis Parker LX Image Blanks for Fastback 9 - 300 Strips
FAQ: 1 Questions, 1 Answers
1 Q&As
Item# W106LX
- Quantity: 300 Strips
- Strip Lengths: 11", A4
- Paper Weight: 20 lb standard (80 gsm)
- Sheets Per Pack: 100 Sheets (3 Strips Per Sheet) / 1 Carton
ProductDescription
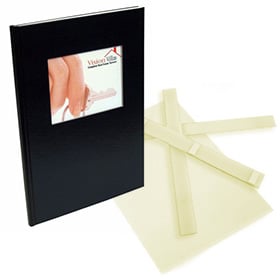
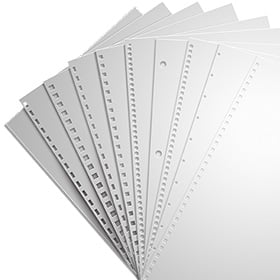
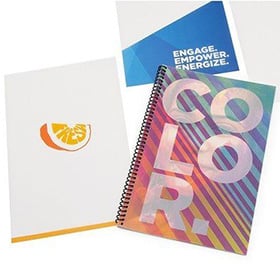
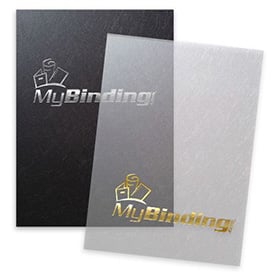
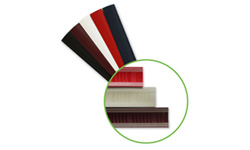
The Powis Parker LX Image Blanks for Fastback 9 represents a new level of binding customization. Now every document you bind can promote your brand, enhance your image, and ensure that each prospectus, manual, proposal or report that you produce is a cut above the competition. People will notice. Available sizes are 11" and A4. The Image Blank comes with Powis thermoplastic adhesive on the strips. You choose the graphics, colors, branding and logos, design using our template, and print your designs on an inkjet printer.
Product Details
- Product Type: Image Blanks
- Strip Lengths: 11", A4
- Paper Weight: 20 lb standard (80 gsm)
- Sheets Per Pack: 100 Sheets (3 Strips Per Sheet) / 1 Carton
- Quantity: 300 Strips
- Part Number: W106LX
Demonstration Video

LX Image Blanks for Fastback 9 Video
Transcript :
These are Powis Parker LX Image Blanks for use in the Fastback 9!
They come in strips of three strips. You can use the Fastback Image Blank Creator to create your own designs, or for more technical users use any photo design software.
Once your run your project through the printer, it will come out looking like this. Pull each one off and you are ready to bind.
Only use inkjet printers—this way the heat of your fastback doesn’t mess with the ink, like it does with laser toner.
And, double check that your Fastback firmware is up to date to support image strips.
To use, take your ...
These are Powis Parker LX Image Blanks for use in the Fastback 9!
They come in strips of three strips. You can use the Fastback Image Blank Creator to create your own designs, or for more technical users use any photo design software.
Once your run your project through the printer, it will come out looking like this. Pull each one off and you are ready to bind.
Only use inkjet printers—this way the heat of your fastback doesn’t mess with the ink, like it does with laser toner.
And, double check that your Fastback firmware is up to date to support image strips.
To use, take your image strip and fold it between the two strips of glue. You’ll see a thick strip of glue and a thin one.
Now push the menu button on your machine until it says “image strip.”
Place your binding strip in with the longer end against the back of the machine. Take your project, and flip the front cover to face the back of the machine. What you are looking at now is the back of my book.
Push the green button to bind. However you use the strips is up to you, and you can get some really great designs for much cheaper than having custom covers made for your book. The thicker section of the design is always the same size for any sized project, which means you don’t have to redesign your strips for different thicknesses projects.

Binding Documents with LX Image Strips and The Fastback 9
Transcript :
Welcome to MyBinding Video, we are looking at the Powis Parker Fastback 9. This video is on how to bind a book using a custom image binding strip. To bind a book with your own company's logo or image on the front cover is easy to do. The first step is managing the fold of the binding strip. Each strip has a series of lines in the bottom to help with the pinch and the slide that makes for the crease. In just a few tries at this you'll find that it is very simple and easily mastered. With a well folded binding strip you are ready to place that binding strip into the opening of the binding system ...
Welcome to MyBinding Video, we are looking at the Powis Parker Fastback 9. This video is on how to bind a book using a custom image binding strip. To bind a book with your own company's logo or image on the front cover is easy to do. The first step is managing the fold of the binding strip. Each strip has a series of lines in the bottom to help with the pinch and the slide that makes for the crease. In just a few tries at this you'll find that it is very simple and easily mastered. With a well folded binding strip you are ready to place that binding strip into the opening of the binding system. With an image strip, you place the tall or long edge facing up towards the back. With your book or document in order simply line up the pages and place them inside the machine on top of the binding strip with the front facing toward the back. Be sure to give a good jog to the materials so that your project is all even, lined up and all the way over to the right side. With everything in place and set, press the green button to go. Depending on the type of bind binding strip that you are using, the Fastback 9 will take between 30 -- 45 seconds to bind each project. The display screen will walk you through the entire process letting you know when the project is being bound and when it is safe to remove. When it reads "remove book" that is your cue to take the book out to place it in the cooling rack. You should leave it there for 30 seconds to a minute to allow the glue to fully cure. When completely dry, the binding is impressively strong. And that is the image strip with the Powis Parker Fastback 9. For more explanations, demos and how to videos on the Fastback line check out Mybinding.com
Questions & Answers
These strips are very easy to use. They do need an ink jet printer to print on them though. If you need any assistance, please call us at 800-944-4573.
Answered by Mybinding.com


