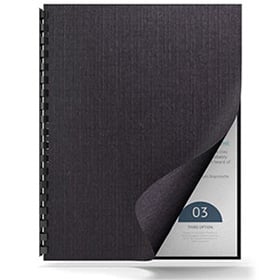
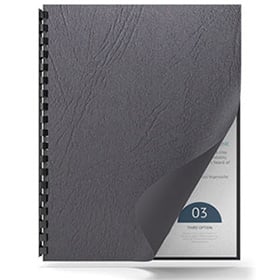
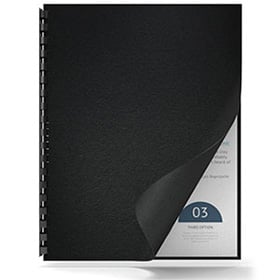
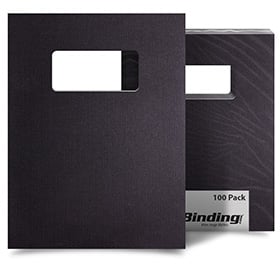
Powis Image Blanks
Introducing the Fastback Image Strip for the Powis Parker Fastback 9 Binding System
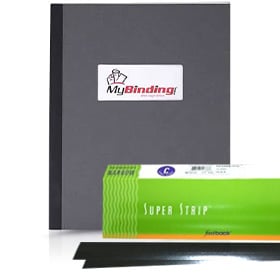
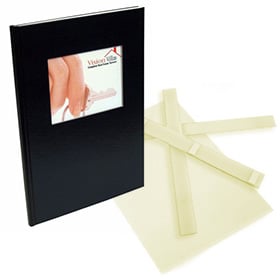
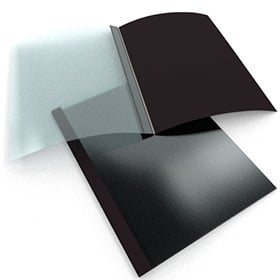
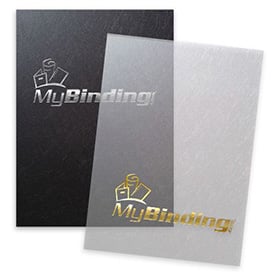
Welcome to MyBinding video. We're looking at the Powis Parker Fastback 9. Let's introduce you to the Image Strip. The great part about the Image strip is that they're custom-made for your business. Powis Parker can take your image design or logo and print them on their custom-image binding strips. That way, they look beautiful and perform perfectly. Using 20-lb paper, an image strip can handle a book up to 100 pages in length. When an image strip is created, the front side is covered with the design or the logo of the company and on the other side, is the adhesive. On the front cover of the image strip, about 1.2 inches of the image printed there will show up on the front cover of the book itself. The remainder wraps around the side and onto the back.
You'll notice that there are two types of adhesive here. The first, the thicker being used for the actual binding of the book and the other side, much less adhesive is used to contact with the front cover of the book itself.
Each binding strip has its own easy to use line upon which you can squeeze, fold and crease to make the perfect fold in the binding strip. With an image strip, you place the tall or the long edge facing up, toward the back. With your book or document in order, simply line up the pages and place them inside the machine, on top of the strip with the front facing toward the back. Be sure to give a good jog to the materials so that your project is all even, lined up and all the way over to the right side.
With everything in place and set, push the green button for Go. Depending upon the type of binding strip you are using, the Fastback 9 will take 30 to 45 seconds to bind each project. The display screen will walk you through the entire process; letting you know when the project is being bound and when it is safe to remove. When it reads "Remove Book", that's your cue to take the book out and place it in the cooling rack. You should leave it there for 30 seconds to a minute to allow the glue to fully cure.
When fully dry, the binding is impressively strong and that is the Image strip with the Powis Parker Fastback 9. For more explanations, demos and how-tos for the Fastback Line, check out MyBinding.com.
MyBinding is happy to offer FREE SHIPPING for qualifying orders. Qualifying orders require a sub-total of at least $75.00 (before sales tax and shipping), a shipping address within the continental U.S.A., and be shipping via ground service (UPS Ground, FedEx Ground, or USPS). All free shipping occurrences are at the discretion of MyBinding.
| Order Sub-Total(Product Only) | Ground Shipping Rate | Oversize Packages & Freight Truck |
|---|---|---|
| $0.00 to $74.99 | $9.95 Flat-Rate | Shipping price varies based on delivery locaton and products orders. Add items to your cart and enter your delivery information for a quote. |
| $75.00+ | FREE Shipping |
Exclusions: Free shipping does not apply for oversized packages or orders requiring freight truck shipping. Expedited orders do not qualify. Orders shipping outside the Contiguous United States (including Hawaii, Alaska, Puerto Rico, etc.), to military addresses or Canada do not qualify. For all orders excluded from free shipping, actual shipping rates will apply. Get a quote by adding all items to your cart and entering your delivery information.


