Achieve professional-quality trims for a polished finish on your framed artwork.
Lightweight and portable design makes it easy to take on the go for framing projects.
Compatible with a variety of dust cover materials, enhancing versatility for different projects.
Durable construction ensures reliability and longevity for all your framing needs.
Product Description
Hand held dust cover trimming tool that can be used either left or right handed and features a safety blade cover when not in use. Simply crease the excess paper after applying it to the back of the frame and draw the tool down each edge to precisely trim the paper approximately 3/16" (5mm) from the outside edge.
Product Details
Uses Logan blade #270.
Used either left or right handed.
Features a safety blade cover when not in use.
Precisely trim the paper approximately 3/16" (5mm) from the outside edge.
Video
LOGAN F60 Dust Cover Trimmer Demo
Transcript :
This is the Logan F60 Dust Cover Trimmer. It is an easy tool to use to make the back of your frame look very neat. This is how you prepare the dust cover trimmer for use. Remove the [neural šœ 00:27] knob and take [inaudible] off. Put a Logan 270 blade on. If youš™re left-handed, you put it over here instead of here. But Iš™m right-handed, so Iš™ll put it right here. Then replace the blade cover. Put the [neural šœ 00:45] knob back on. Notice you have two positions. Youš™ve got [safe and šœ 00:49] blade. If youš™re storing this tool, [inaudible šœ 00:53] on safe. If youš™re ready to use it (which we are), we put it to blade and tighten it up.
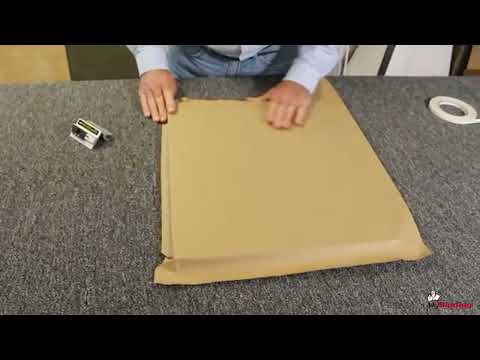
From this demonstration, we have already applied the paper to the back of the frame. Iš™m going to go around and fold the paper down like this so that my cut will be easier and more accurate. Then I take the Dust Cover Trimmer at about a 45-degree angle, put it all the way up to the tophere, all the way down to the bottom, turn the frame around, repeat the process. Notice Iš™m just cutting the paper. It will score the frame a little bit, but thatš™s okay.
Now that your paper is placed neatly on the back, you can install your hardware and your artwork is ready [inaudible šœ 01:52].