Fast Shipping. Reliable Service. Every Time.

Get your machines and supplies delivered quickly because deadlines shouldn’t wait.

Frequently Asked Questions

Match the strip to the Fastback machine before choosing color, finish, or spine style. Fastback strips are not interchangeable across every machine and project. LX strips are designed for the Fastback 9 and can support re-editing. Super strips are designed for Fastback 20, 15xs, and 11 workflows. Composition strips support Fastback 9, 11, 15xs, and 20. CP strips support Fastback 11, 15xs, and 20 for very thick or coated-paper work. The Fastback shop by machine option is helpful when departments reorder supplies for different Fastback equipment. Confirm machine model, strip type, strip width, paper type, and document thickness before placing a bulk order.

Choose LX strips when the work is being produced on the Fastback 9 and the document may need limited edits after binding. LX strips support reopening and rebinding up to two times, which helps when a corrected sheet may need to be added later. Super strips serve a different workflow. They are designed for Fastback 20, 15xs, and 11 machines and are permanent after binding. They should not be treated as substitutes just because the color or length looks similar. If the machine is a Fastback 9, review Fastback LX strips before choosing colors, widths, and pack quantities. If the machine is not a Fastback 9, verify the correct strip family first.

CP strips make more sense when the document uses coated, glossy, matte-coated, photo, or other hard-to-bind paper. Standard adhesive works best when it can bond into paper fibers. Coated paper can block that bond and cause sheets to release after the spine looks finished. CP strips use a higher-tack adhesive made to penetrate coating and reach the fiber beneath. Catalogs, photo-heavy reports, premium brochures, and coated presentation documents should be checked before supplies are ordered. If the paper surface feels smooth, glossy, or reflective, compare Fastback CP strips rather than assuming a standard strip will hold through repeated handling, especially for customer-facing books.

Choose strip width by compressed spine thickness, not only by sheet count. Paper weight, covers, coated sheets, inserts, and tabs all change the thickness of the finished book. A strip that is too narrow may not hold the full stack securely. A strip that is too wide can leave a bulky or less polished spine, though using wider than needed is safer than under-sizing when the document is near a limit. Bind a real sample before ordering large quantities. Use the same paper, covers, and inserts the team will use in production. Check that the sheets are square, the strip wraps cleanly, and the spine feels secure after cooling.

Weak Fastback binding usually comes from the wrong strip type, wrong width, incompatible paper, poor spine alignment, or incorrect handling after the cycle. A strip that does not match the machine can fail even if it looks similar. Coated or glossy sheets may need CP strips because standard adhesive may not bond through the coating. A stack that is not a jogged square can leave uneven glue contact along the spine. Handling the book too soon can also affect the bond. For mixed Fastback work, keep Fastback binding supplies separated by machine, strip family, width, and paper type so operators do not grab the wrong box during production.

Powis Parker Fastback 9 - Folding and Using Binding Strips with Your System

Powis Parker Fastback 9 - Folding and Using Binding Strips with Your System

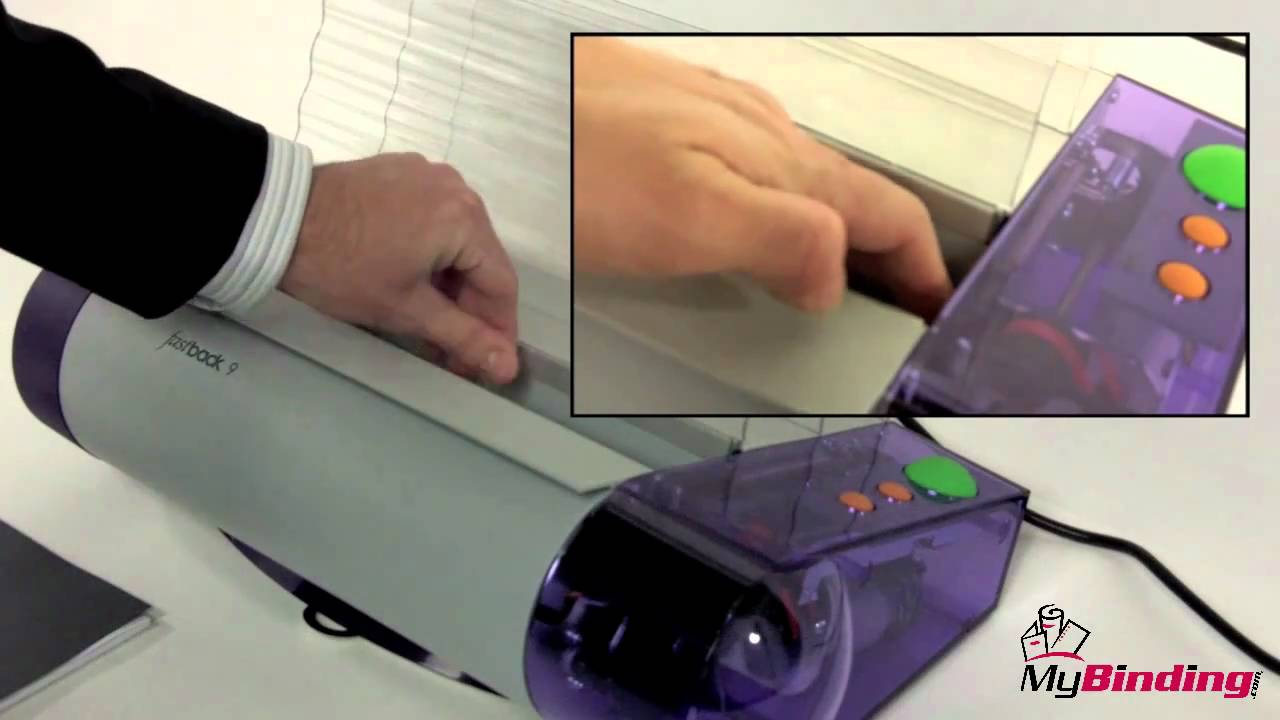
Welcome to MyBinding Video. This video is designed to help you in the folding and using of binding strips within the Fastback 9 Binding System. We'll start by using at the construction of each kind of binding strip and then how to use it. You'll notice that on the underside of each binding strip, there are a series of lines, these lines are not symmetrical and you will note that you do not make creases in the centre of the binding strip. A simple pinching motion will help you find the correct spot to make the crease. This fold can be made in the hand or on a flat surface.Observe just how easy it is for Cory to pinch and crease the binding strip. He then places the strip into the machine being sure to slide it all the way to the right side of the opening. With narrow and medium Elec-Strips as well as Comp Strips, the shorter end of the folded binding strip lays against the back wall, up against the heating element. The longer edge will lay flat on the floor upon which you will put your documents.Setting up an image strip is a bit different. The crease is done in the same way with a pinch and a slide, but with an image strip, when you place it into the machine, the long end or the tall end goes against the back, towards the heating element and the shorter edge will go along the floor where you'll put your documents.Now you are set to make some fantastic looking books with the Fastback 9. For more ideas, demonstrations and other videos on the Fastback Line, check out MyBinding.com.

Featured Blogs

View all
Binding101 2018 Best Sellers

Binding101 2018 Best Sellers

Here is a list of our top-selling equipment for 2018, across all product categories, by volume of...

Read More
DIY Booklets: How to Make Event Programs, Catalogs, & Magazines

DIY Booklets: How to Make Event Programs, Catalogs, & Magazines

From handmade zines to polished product catalogs, folded and bound booklets are a classic way to share...

Read More
How to Make Custom Calendars: A Step-by-Step Guide

How to Make Custom Calendars: A Step-by-Step Guide

Custom calendars aren’t just great for organization — they’re also an excellent product line for small businesses,...

Read More