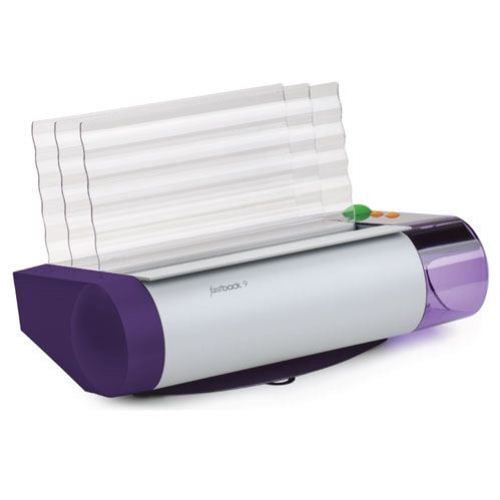
Fastback 9 Strip/Tape Binding Machine - FB9
- 3.5 times faster than traditional punch-and-bind systems
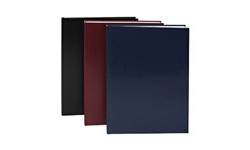
- Binds both soft and hardcover books
- 250 sheet binding capacity
- 1 year manufacturer warranty
ProductDescription
Product Details
- Machine Dimensions: 19.5"W x 11"H x 13"D
- Maximum weight: 17 lbs (7.7 kg)
- Spine Lengths: 8.5", 11", A4, A5
- Spine Thickness: Narrow, Medium
- Page Sizes: 8.5" to 12" (21.6 cm to 30.5 cm)
- Optimal Paper Weight: 20 lb standard (80 gsm) to 32 lb (120 gsm)
- Edit Capability: Yes (<2 edit cycles, standard Lx strips only)
- Binding Time: 35-45 seconds
- Warm-up Time: None
- 115VAC, 60 Hz, 8.4 amps
- Regulatory Approvals: UL, CE, cUL, MITI, FCC Class B
- Manufacturer's Warranty: 12 Month Manufacturer's Warranty
Item Specifications
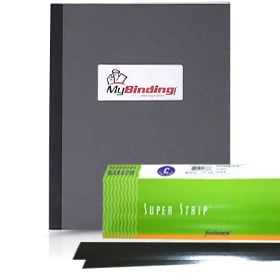
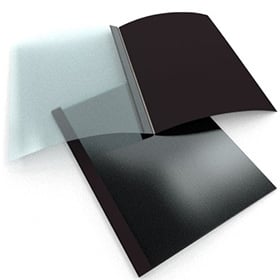
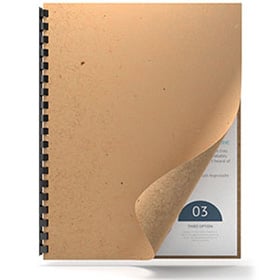
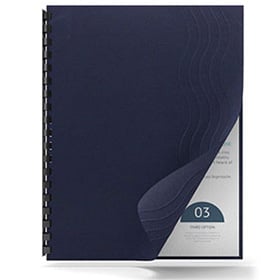
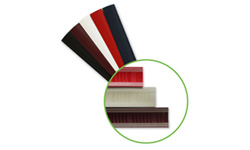
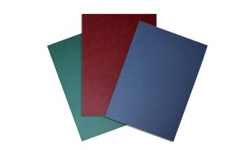
- Compatible Supplies: Super Strips
Composition Strips
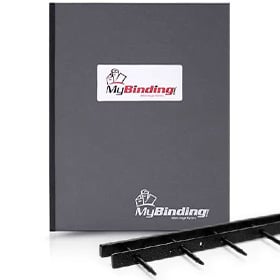
LX Strips
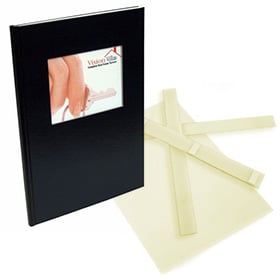
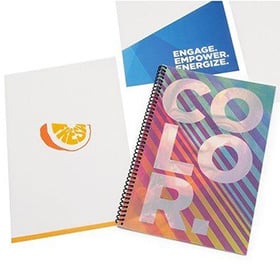
Image Strips
Demonstration Video

Fastback 9 Overview Video
First take your back cover. Then take your printed project and add the front cover to top it all off.
Place the project into the machine without a binding strip and push the green button. The machine knows there is no binding, so it tells you what size you will need.
There are only two sizes of binding for projects up to 250 pages, which makes things easy. There is a separation within the glue, and a crease there—fold this along the entire strip.
Then take the strip and place it in the machine with the smaller end sticking up and ...
This is the Fastback 9 a Thermal Tape Binding Machine!
First take your back cover. Then take your printed project and add the front cover to top it all off.
Place the project into the machine without a binding strip and push the green button. The machine knows there is no binding, so it tells you what size you will need.
There are only two sizes of binding for projects up to 250 pages, which makes things easy. There is a separation within the glue, and a crease there—fold this along the entire strip.
Then take the strip and place it in the machine with the smaller end sticking up and against the back of the machine. It should be situated to the right edge as well.
Then take your project and flip the front to face away from you. Place it onto the binding strip, situated to the right, and get all the pages properly in place. How you see it now is how it will bind. Ok, it looks good, so now push the green button to bind.
It only takes 20 seconds to run through the binding cycle. When done, place the project in the cooling rack. This is important so the pages don’t move any more while the glue hardens.
Since the binding is flexible, it actually lays fairly flat, which means you don’t have to hold it open, and it works well with photo copying.
There are a lot of benefits to the Fastback 9, like how you can use your own customized covers instead of plain thermal covers, and the machine makes very little noise. You can also use image strips, which you can print your own design on the binding—there is also no warm up time, which means you are in and out. It also binds thermal hard covers and the firmware is updatable for potential future improvements.

Editing Documents with The Fastback 9
The Fastback 9 heats the binding again just enough to remove the page allowing the second to take it's place. Jog everything into place and let it cool. Though not quite as strong as the first time around, these rebound documents are impressively durable.
Here is the edit mode, one step at a time. With the book that you're going to be editing at the ready. Be sure that the F ...
This is a demonstration on how to edit, removing, or adding pages to a book after it has already been bound. It's a very simple process of locating the page you want to remove. Adding the page that you want to put in. The Fastback 9 heats the binding again just enough to remove the page allowing the second to take it's place. Jog everything into place and let it cool. Though not quite as strong as the first time around, these rebound documents are impressively durable.
Here is the edit mode, one step at a time. With the book that you're going to be editing at the ready. Be sure that the Fastback 9 is turned on with the power switch on the back. Using the top orange button you select through the various menu selections until you get to edit mode. It's with this setting that you will do your editing. Simply select it by pushing the green button to save your selection.
Next, you want to locate within the book the page that you would like to remove. We are marking it here in this demonstration with an "X". Next you take the sheen that you are going to add to the book (in this case the green sheet) to the right of the page you are going to remove. Be sure to put the book back into the machine in the same exact way with the front facing back. This is necessary for the heating element to correctly re-heat the binding strip. Be sure to take the time necessary to jog all papers into place perfectly. This allows for the most effective editing job. Tap the green button again for go and the machine closes up. And this will take the same length of time to bind the book originally. As always the display screen will walk you through the steps. You insert the book, you stand as the binding strip is being heated. At the edit now prompt is when you remove the unwanted sheet. To ensure the quality of the edit job, this maneuver must be done decisively and quickly. At the standby to edit prompt get your fingers ready on that piece of paper. As soon as it says edit now you firmly tug that sheet right out. Followed by quick and firm tapping and jogging, allowing the new sheet to settle into the correct spot. And as always, let the book cool in the cooling rack completely before using.
Editing jobs with the Fastback 9 are extremely effective. In our test case here you can see the new sheet in place of the old. The binding is still the same as it was before but there is a new sheet in place. In terms of durability, this bind is more than competent. There you have it, it is as simple as that with the Powis Parker Fastback 9 Binding Machine.
For more demos, explanations and how to videos on the Fastback line, check out MyBinding.com

Fastback 9 - Binding a Hard Cover Book
Two main materials are used, a hard bound cover as well as what's called a block. The block is first bound and then glued inside the cover.
The first step is to bind the block. This is done the same way as you bind any document with the Fastback 9, the only difference being the project is sandwiched between two end sleeves in the front and the back with your project in the middle. These will then be attac ...
Welcome to Fastback helps from MyBinding.com. The Fastback 9 in conjunction with the Fastback hard cover guide allows you to bind a hard bound book. Let's watch it in action step by step. Two main materials are used, a hard bound cover as well as what's called a block. The block is first bound and then glued inside the cover.
The first step is to bind the block. This is done the same way as you bind any document with the Fastback 9, the only difference being the project is sandwiched between two end sleeves in the front and the back with your project in the middle. These will then be attached to the inside of the hard cover. All that goes right on to the binding tape. Jog it over to the corner, hit the button, and let it bind. After it's all done, remove it, and let it cool completely. And while the inside of the book is cooling, you can begin to prep the outside.
These little strips add a texture that's not necessary for binding the book, it just looks a little nicer in the finished product. Cut two trapezoid-type shapes, make them a little wider than the binding of your book, peel back the adhesive, and drape it around the corner of your book, making sure the checkered end is just above the top of your book. The end result will look like this. However, let's get to that point first.
Open the hardback cover you've chosen and lay it flat on top of the guide. The right hand side slides in just underneath the holder. Then lock it down. With that locked down, peel back about one inch of the left side of the adhesive covering on that panel. And then lay your bound document on top of this very tacky surface. Use the guides on the right and the top to make sure things are square and centered. Press down firmly to get a good contact. Folding back all the pages with the left hand, hold your book while the right hand removes the rest of the adhesive. Gently pull it along as you lay the book down. Now you're ready for the opposite side. Pull back the adhesive cover there all the way and lay the cover flat down on top. And as you do this, you want to apply pressure to the outside toward the spine of the book. Unlock it, press everything down nice and firm on both sides, and you're done. This is a good time to open up the front and the back leave just to make sure everything is down, there are no bubbles anywhere, and things look perfect.
There you are. That's how to bind a hardcover book using the Fastback 9 and the hardcover guide. This is the Fastback 9.
Resources
Staff Review
Fastback 9 Binding Machine Review
Fastback thermal binding is one of the most elegant ways to bind your documents and it just got a whole lot easier and affordable thanks to Powis Parker’s new Fastback 9 binding machine. With the Fastback 9, you can quickly create beautiful reports, proposals, and other documents that look and feel like real books. You can find out more about this great machine by continuing to read this article, so sit back, relax, and read on.
The Fastback 9 was designed to be powerful, convenient, and affordable. Well, affordable for a Fastback machine, that is. Fastback binding machines are definitely not the cheapest products on the market. For example, the Fastback 15xs can be yours for just over $6,000.00. (You have that amount under your mattress, right?) However, that machine is made for high-volume operations, whereas the Fastback 9 is meant for everyday offices and thus, is slightly more affordable. It retails for just over $2,000.00 and while that’s still a lot of dough, you really do get a lot for the price.
The Fastback 9 can perform both tape and hardcover book binding and it utilizes the fabulous variety of Fastback binding strips. It can bind documents up to 250 pages long and it does so quickly, within 30 to 45 seconds, so this is a great machine for companies that need to quickly bind bookstore-quality hardcover books. (In fact, this machine can bind your documents up to 3.5 times faster than a typical punch-and-bind machine.)
The Fastback 9 can handle strips that are 8.5″, 11″ and 11.7″(A4 Size) in length. It can also be used with two different strip widths: narrow and medium. You can use also Powis Parker’s L-Strips and Lx-Strips, as well as their Halfback covers and Bindercovers. And if you really want to get creative, you can use the company’s brand new ImageStrips. They’ll give your books an eye-catching, contemporary look. If you have Fastback’s Foilfast printer, you can definitely incorporate it into your binding. For those of you who don’t know what a Foilfast printer is, it’s a printer that can give your books a glamorous look by adding foil elements to your binding covers. (The Foilfast can print up to seven different colors.) And if you’d like to bind books that contain glossy paper, you can use the Fastback 9 along with Powis Parker’s Studio Photobook system to express yourself.
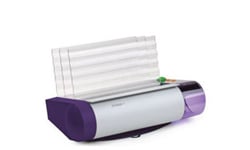
Combine those capabilities with all of the other binding elements available from Powis Parker and creatively speaking, the sky’s the limit when it comes to using the Fastback 9. It makes sense that the Fastback 9 can produce such gorgeous books considering the machine itself is very attractive. It has a purple and gray exterior, and it’s small enough to fit on any desk so finding a place to put the machine shouldn’t be a problem. You’ll also be able to get binding immediately with the Fastback 9 because it doesn’t need to warm up. You’ll save time and get great-looking books with this machine.
How cool, huh? Thermal binding has never been easier or more striking than with the Fastback 9 binding machine. Consider getting one for your home or office so you can produce books that everyone will love.
Helpful TIps
Tips For Better Binding With the Fastback Model 9
Using the Fastback model 8x or model 9 binding machine is incredibly easy. You simply prepare your document, fold your strip, put the strip into the binding machine, put the document into the binding machine and press the bind button. It doesn’t get a whole lot easier than that. However, there are a few tips and tricks that might help you to get the best results possible out of your machine. Here are five tips for binding documents with the Fastback model 9.
1. Before binding, make sure that the pages of your document are jogged together and are aligned evenly. After placing the pages into the machine it is helpful to tap the pages several times to ensure that they are even. You should also check to make sure that the Lx-Strip edge and document edge line up perfectly.
2. The grain of the paper should run parallel to the binding edge of the document. All paper has a grain – it is a result of the fibers that make up the paper. If the grain runs parallel to the long side of the sheet, the paper is “grain long”. When the grain runs parallel to the short side of the paper, it is “grain short”. A sheet of paper will naturally flex more easily along the direction of its grain. Try it and see. (Hold a piece of paper the long way lightly in your fingertips and gently bow the paper, allowing it to flex. Now try it the other way. See the difference? Most copy papers are grain long, so you should not have any problems with the bind. Grain long paper will give you the best bind. Occasionally you may find papers that are grain short, so we recommend you test unfamiliar papers before binding large numbers of documents.
3. Coated papers, and papers with heavy ink or toner coverage may also experience problems with binding. If you have documents with heavy ink or toner coverage, always do a test bind first to ensure that your documents will bind properly. If you are having problems with your pages binding securely there are a few things that you can try including using sand paper to roughen the edge of the paper, using the Powis Parker Fastback edge splitter, moving the ink coverage away from the spine of the book or even placing flat cinch staples close to the edge of the book block.
4. After the binding cycle, be sure to place your document entirely upright, with the bound side down, against one of the two rear book support fences for five minutes. This will allow the glue to properly cool and will help to ensure that your binding is as secure as possible. Improper cooling of your document may result in a crooked spine. Bind strength increases over time, and is maximized after 24 hours. However, when placing multiple documents in the front cooling compartment, make sure it doesn’t get overloaded to where the front document hangs off the metal step.
5. If you use your Fastback model 9 binding machine on a regular basis you should exepct some minor glue buildup on the heaters. It is important that you remove this glue on a regular basis to ensure the best possible performance of the machine. When cleaning the heaters, turn the machine off and unplug it. Wait for the heaters to cool, and then wipe off any glue using a dry lint free cloth. Cleaning solution is not necessary.
These are just a few tips and tricks to help you get the best possible results when binding books and documents with your Fastback model 9 binding machine. Following these tips should help you achieve strong, straight and professional binds ever time using your machine.
If you are interested in more information about the Fastback Model 9 or are looking for Fastback Binding Machines or Fastback Binding Strips you should visit MyBinding.com. They are the largest online dealer for Powis Parker Fastback products in the United States. In fact, they carry the entire line of Powis Parker Fastback binding products.
Questions & Answers
BUSINESS MACHINES SYSTEMS (M) Sdn Bhd
95 JALAN SS15/5A SUBANG JAYA
47500 SELANGOR DARUL EHSAN
They would be able to sell the machine and probably service it also. Hope that helps!


