MyBinding Knowledge Base
- Binding (248 Article)
- General Binding (42)
- Plastic Comb Binding (57)
- Fastback Binding (59)
- Perfect Binding (2)
- Modular Punching (8)
- Zipbind (3)
- Twin Loop Wire (13)
- Coil Binding (22)
- Thermal Binding (14)
- Strip Binding (1)
- VeloBind (4)
- Binding Covers (14)
- Proclick Binding (10)
- SureBind (4)
- Screw Post (2)
- Hole Punches (2)
- Staplers (4)
- Komtrak Insprial Binding (2)
- Paper (1)
- Rhin-O-Tuff (5)
- Binding Machines Comparison (17)
- Laminating (109 Article)
- General Laminating (26)
- Roll Lamination (16)
- Pouch Lamination (36)
- Pouch Board Laminator (3)
- School Laminator (3)
- Foil Laminating (3)
- Royal Sovereign Laminators (10)
- Laminators Comparison (3)
- Boards (11 Article)
- Bulletin Boards (3)
- Whiteboards (5)
- Chalkboards (1)
- Paper Shredders (44 Article)
- General Shredding (35)
- Industrial Shredders (1)
- Cross-Cut Shredders (2)
- Cardboard Shredders (1)
- Multimedia Shredders (1)
- Personal Shredders (1)
- High Security Shredders (2)
- Ring Binders (9 Article)
- Specialty Binders (2)
- Reinforced Paper (1)
- Health Care Punched Paper (1)
- Perforated Paper (2)
- View Binders (1)
- Index Tabs (9 Article)
- Index Tab Dividers (2)
- Copier Tabs (4)
- Pocket Folders (1)
- Custom Index Tabs (1)
- Pre-Printed Index Tabs (1)
- Paper Handling (37 Article)
- Paper Folders (9)
- Paper Joggers (2)
- Guillotine Cutters (4)
- Rotary Trimmer (3)
- Electronic Paper Cutters (1)
- Corner Rounders (2)
- Paper Scoring (2)
- Paper Drill (2)
- Booklet Makers (3)
- Stack Cutters (1)
- Paper Handling Equipment Comparison (5)
- ID Accessories (12 Article)
- Badge Holder (1)
- Lanyards (8)
- Badge Reels (1)
receive
$5off
*On order $25 or more.
How to Use a Comb Binding Machine
Plastic comb binding, also called GBC binding, is the most common of the punch and bind styles. It is a relatively easy process and is basically the same for most all manual comb binding machines. Electric comb binding machines are similar, but simply have push button controls rather than a lever.
Here is how to bind with plastic comb binding:
- Select the proper size of comb binding spine
- Check our sizing guide to see what size binding you need for your project
- A comb binding that is too small will hinder both the durability and usability of the document as pages will not turn freely and could ultimately rip
- Comb bindings that are too large will look awkward and will not function as well as a properly fitted comb binding
- Appearance is perhaps the best way to judge the size of a comb binding
- Place the comb on the comb binder so that it opens
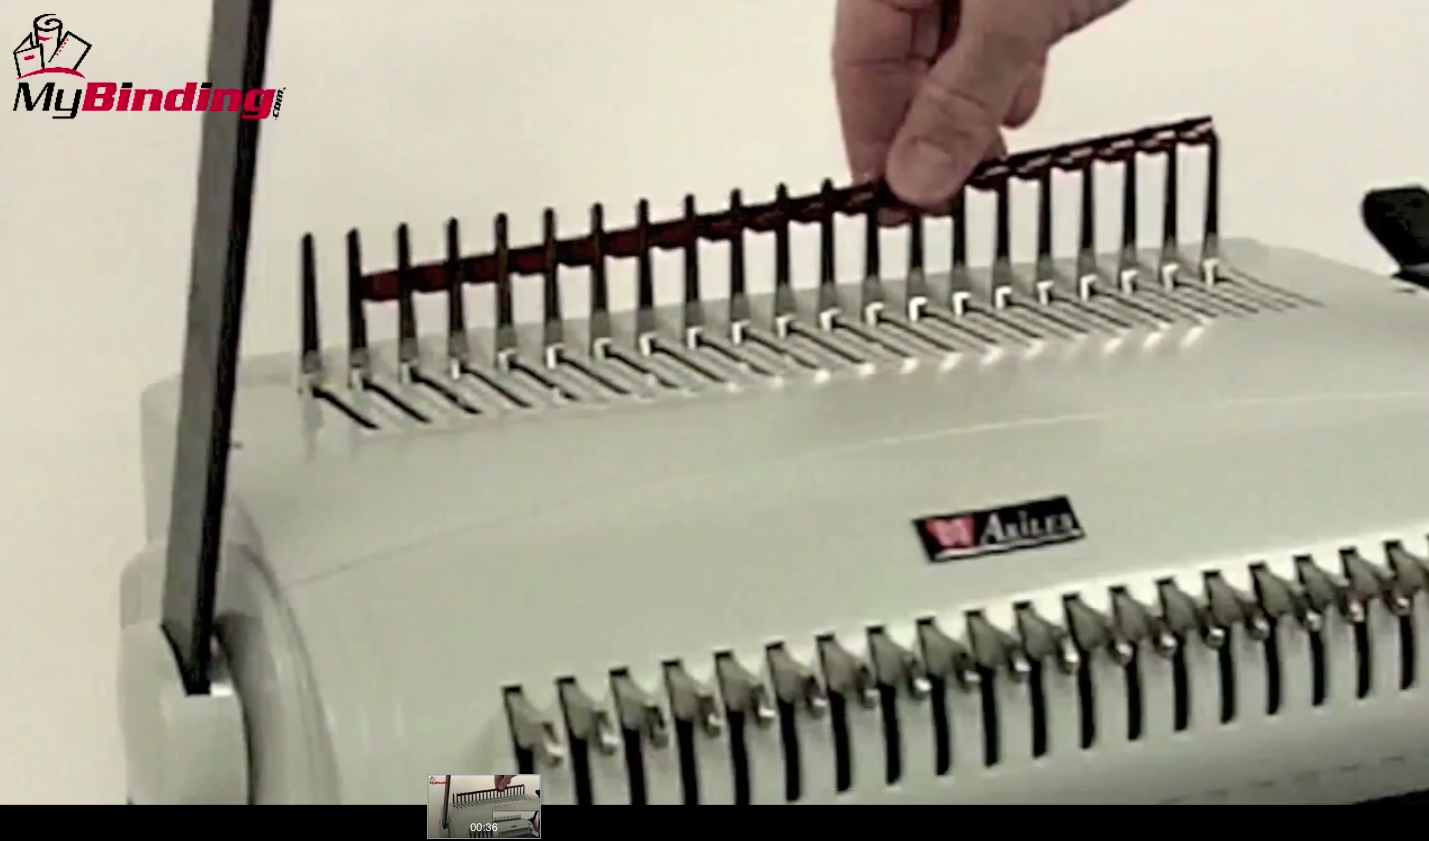
- Place the solid spine of the comb binding on the opener from the back side so the loops are in between the fingers of the comb binding opener
- Make sure that the comb binding will open up rather than down
- Depending on the system: push or pull the lever to open the comb binding
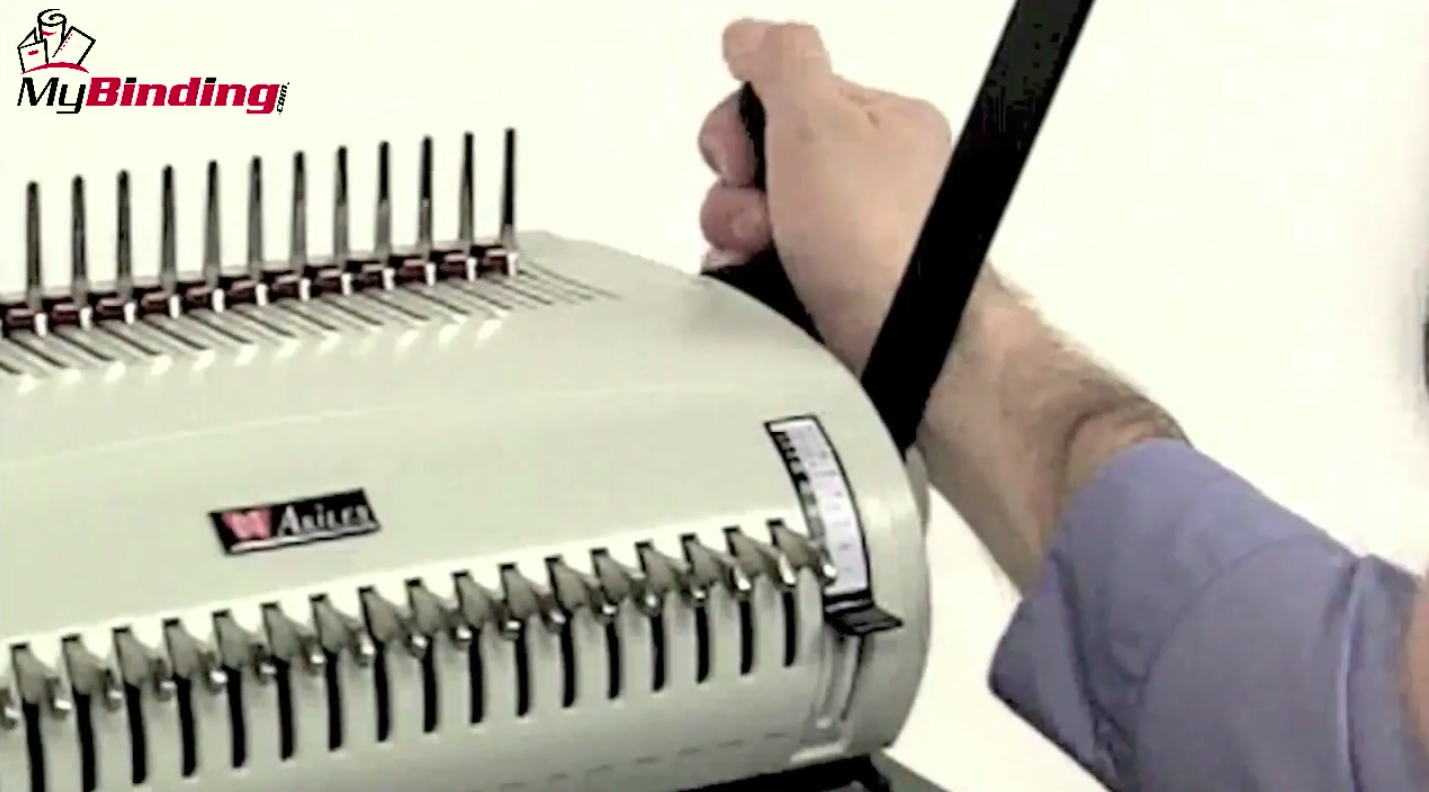
- Most systems have a single lever that will operate the punch mechanism by pulling forward and the comb binding opener by pushing back.
- Electric punches and some manual systems will have a separate comb binding lever that will usually be pulled toward the operator
- Opening the comb binding too far will cause the comb binding to snap shut and possibly fly off the system. Open the binding just enough to fit all your pages in
- Make sure the opener is closed all the way when inserting the binding. You'll see small hooks that will grab the comb and pull each tooth open.
- ‘Hang’ the front binding cover face down, followed by the contents of the document, and finish with the back cover
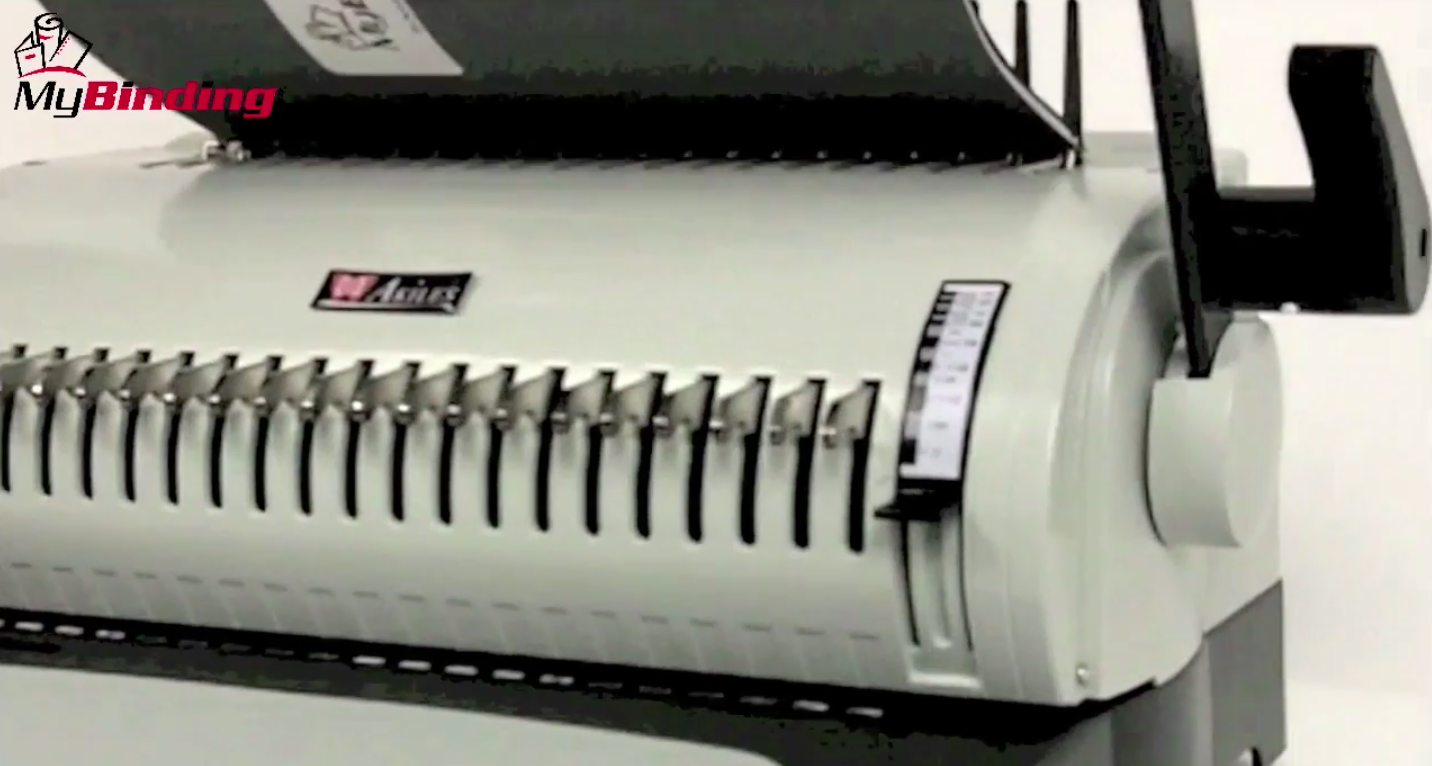
- It is very common for plastic comb bound documents to have oversized covers which are easier to hang alone
- The contents of the document can be hung in sections. For larger documents, it may be necessary to close the comb binding incrementally
- For best appearance, start with the front of the document and place the document on the comb binding face down. (This will ensure that the seam of the comb binding is on the back side of the document)
- Replace the lever into the center or resting position to close the comb binding, and remove the book
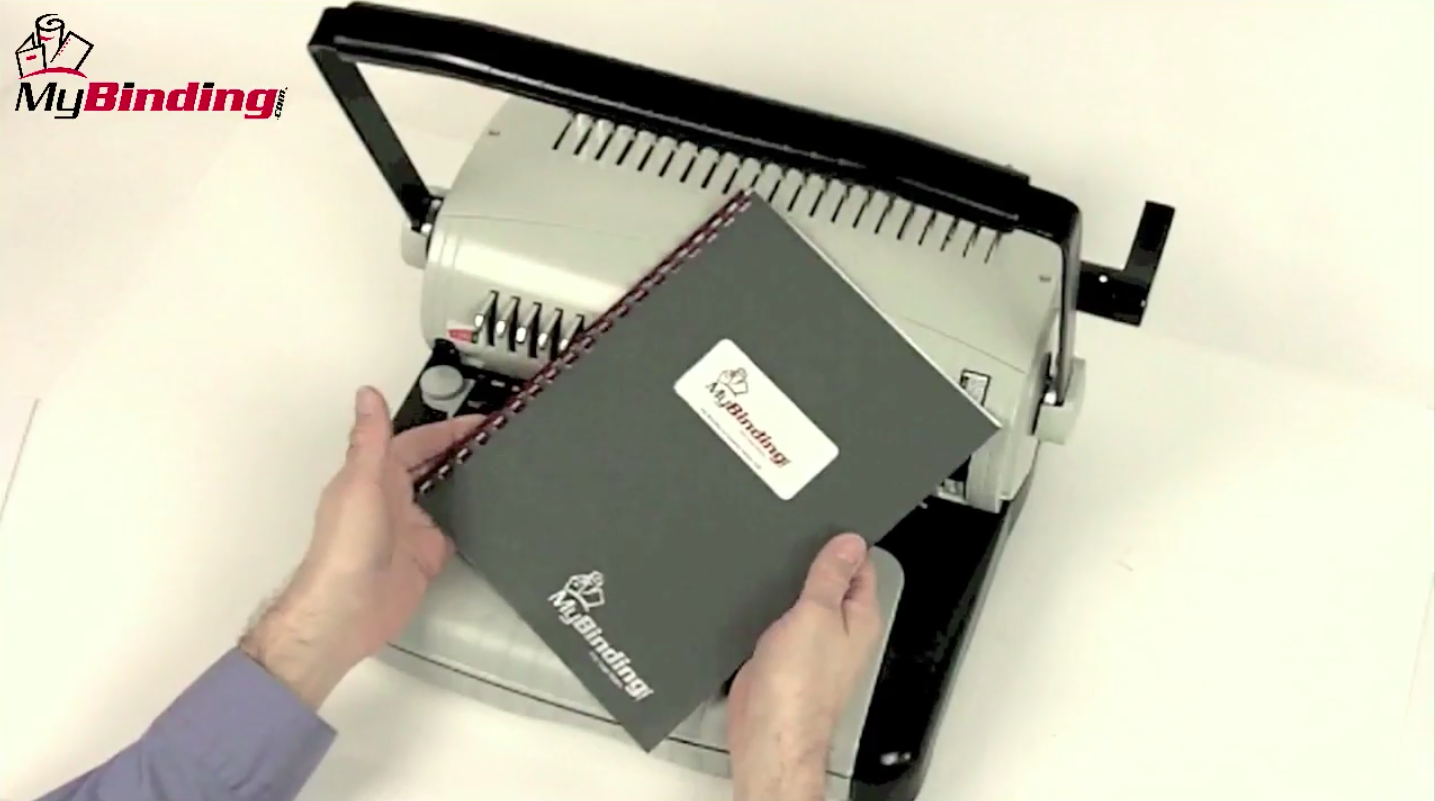
Here is a transcript of this video:
Welcome to MyBinding How To videos. Today we're answering the question how to use comb binding machine. Certainly one of the most popular and economic ways of binding a book, presentation, or project, is with plastic combs. There are a number of comb binding systems on the market; let's look at one, all of its parts, and how it works. First, let's look at all the basic parts of a common comb binding machine. Almost all comb binding systems will have a punch, either electronic or manual, that punches holes through your entire project consistently. In terms of binding, there will be a lever that is the comb opener. It opens the plastic combs, and allows you to thread the project through and close the comb around it. Most comb binding systems have margin control knobs or dials. And some systems even have depth of margin control knobs that allow you to change the margin size according to size of project. Many comb binding systems will have measuring tools that will help you choose the right size comb for the thickness of your specific book. And since the chips must fall, a waste bin is built into the machine. On this EcoBind C made by Akiles, let's watch a step-by-step demonstration of a book being made. Beginning with the covers, place them faced down on the punched side into the throat of the machine. This is where the side margin control and depth of margin control knobs come into play. You set them so all punches will be consistent throughout your project and you make your punch. This is certainly where electronic punching and punch capacity make all the difference. Spend the time that you need to punch through the rest of the papers in your project. And now we have arrived at the binding part. First is comb selection. This is where you use the built-in measuring tools to make sure you get the right size comb for the thickness of your book. Once you have selected your comb, you feed it onto the teeth of the comb opener. You use the lever on the machine to open the teeth of the comb. Now it's time to thread your project over the teeth of the comb. This is a little tricky at first but you'll get the hang of it. Close the teeth of the comb with the same lever and you're all set. Certainly all machine and systems work differently but that's basics of how to use a comb binding machine. For more how to's, demos, and reviews of specific products or other systems, check out MyBinding.com.
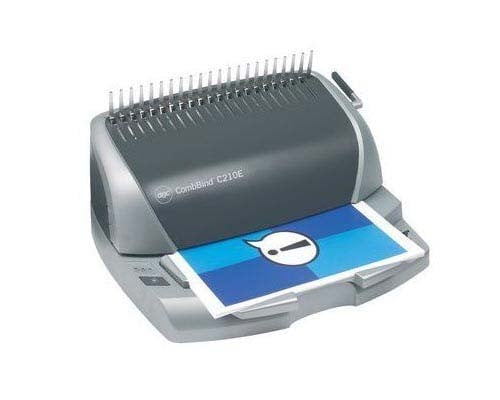
< Over the years, a number of customers have asked me whether they can use twin loop wire with their plastic comb binding machine. These customers often don’t want to have to buy a brand new machine but like the look and feel of twin loop wire binding. However, the answer to their question isn’t as simple as it seems. You see, they actually do make twin loop wire that is designed to work with the plastic comb binding hole pattern. With that said, if you want to use these wires you are going to need a way to close the wires. What is Spiral-O Wire? Let me explain a little bit more…There is a product that we carry called Spiral-O Wire. This wire has 19 loops and is designed to work with the hole pattern from a plastic comb binding machine. Spiral-O Wire is sometimes called Wire Combs or Ibico Wire and was originally designed for use with some of the older Ibico binding machines. A number of the older Ibico plastic comb binding machines also included a twin loop wire closer on the front of them to allow users to use both plastic combs and wire. This 19 loop wire was designed for this purpose. What Equipment is Needed? As the Ibico brand has been phased out by GBC and all of the older Ibico plastic binding machines have been replaced with new models, they no longer have the twin loop wire closer on the front of them. This presents a problem in trying to use these spiral-o wires since you can’t use the wires without a way to close them. One of the only options left is to purchase a Twin Loop wire closer. However, since twin loop wire closers are not incredibly cheap this option usually only appeals to users who have larger electric plastic comb binding machines. Otherwise, it is often advisable to simply buy a low end 3:1 pitch twin loop wire binding machine (the supplies are cheaper). This being said, if you have one of the older Ibico binding machines that has a wire closer included you are in luck. The Spiral-O binding supplies that we carry will work perfectly with your machine and you will be able to use both plastic combs and wire depending on your needs. These Spiral-O binding supplies are available in Black, Silver, White, Blue and Red and in sizes up to 1″ in diameter. If you aren’t sure what type of wire binding supplies that you need to work with your machine simply give us a call. Our trained sales representatives will be glad to help you find the correct supplies for use with your machine.(Read More)

Loading...


